





Good to know
Window Reveal Finishing in Astana

Senior mosquito screen specialist at moskitnyesetki.kz
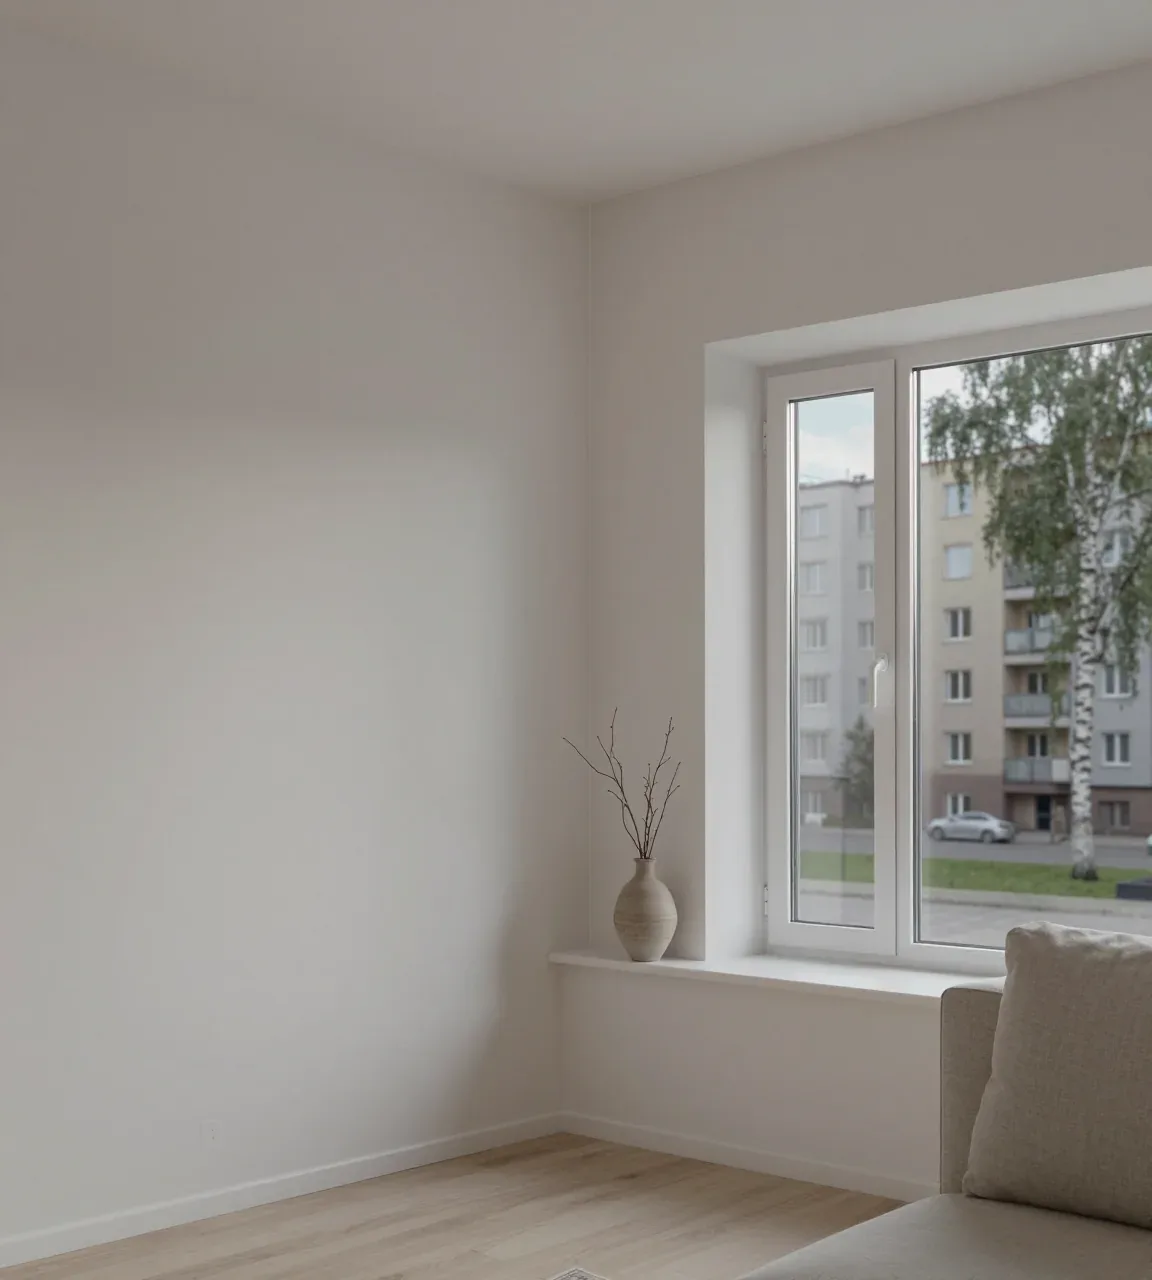
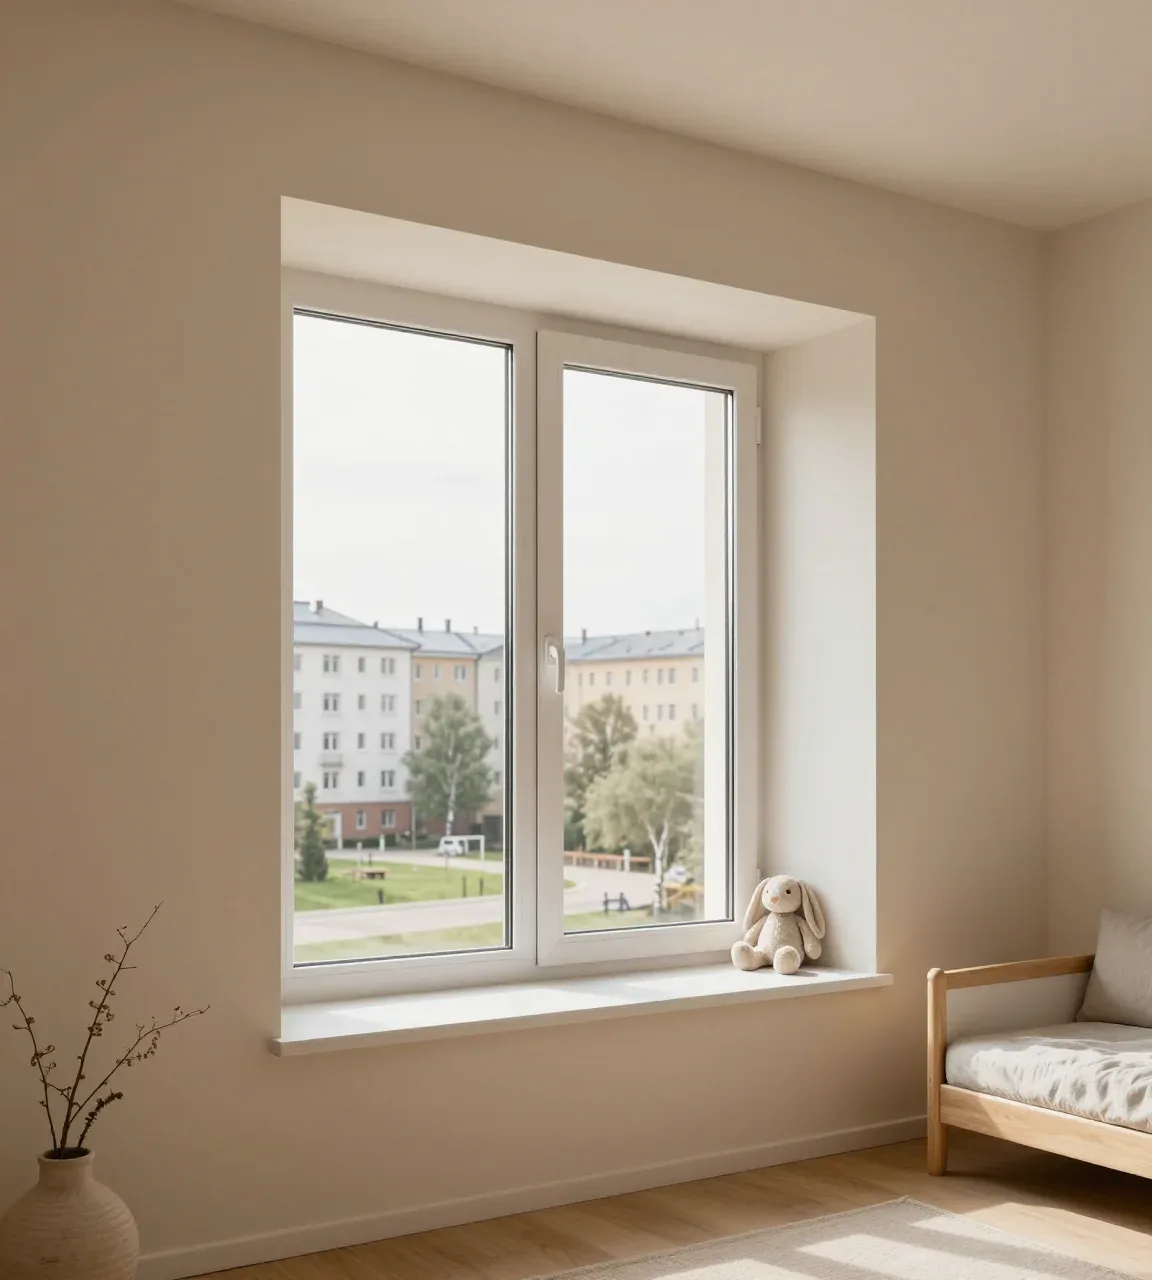
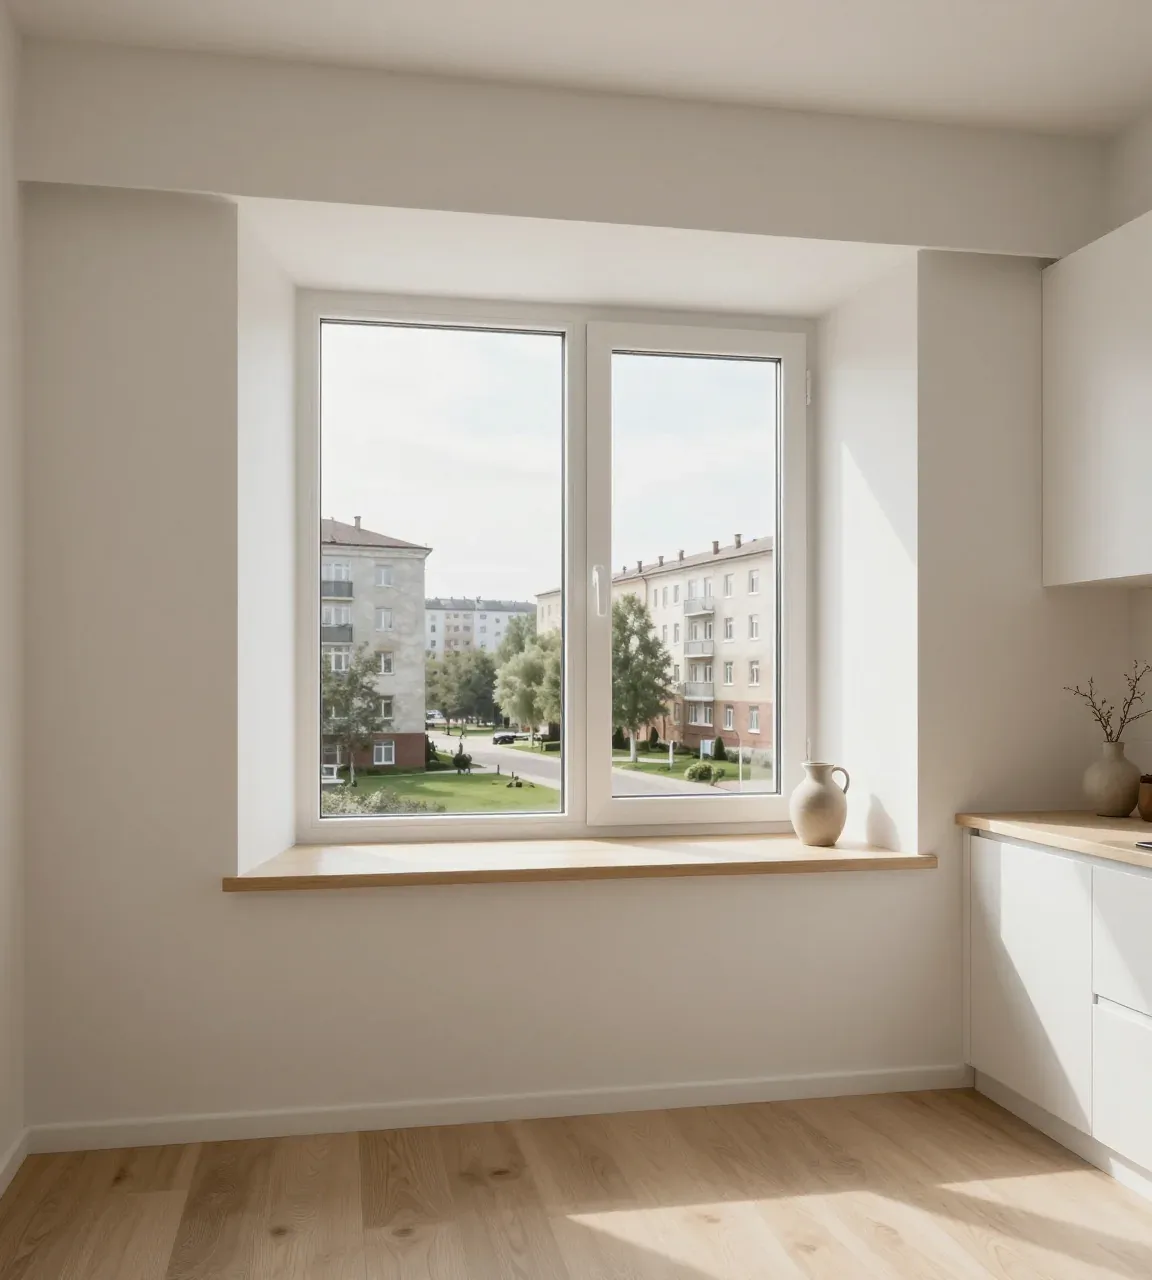
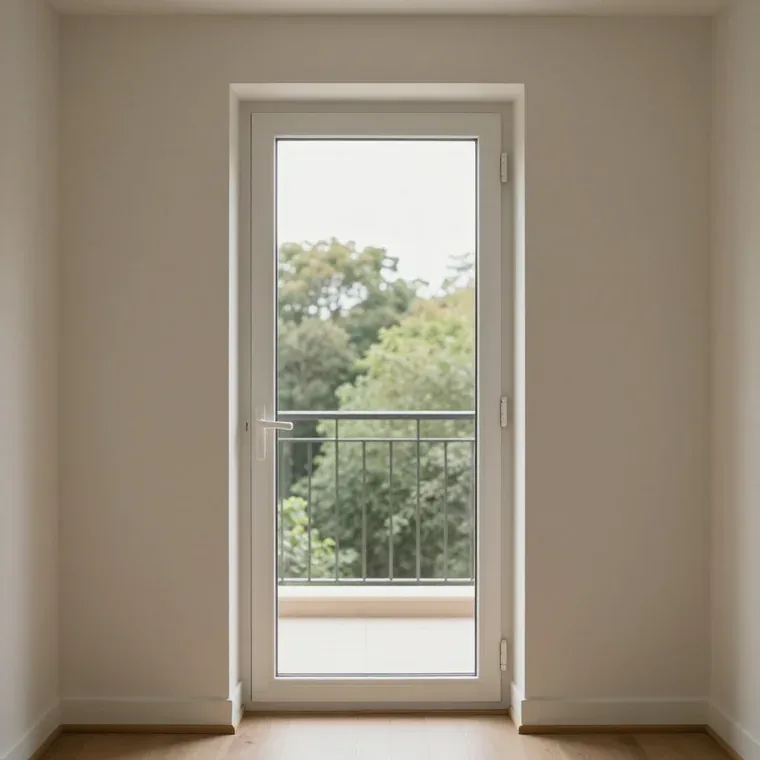
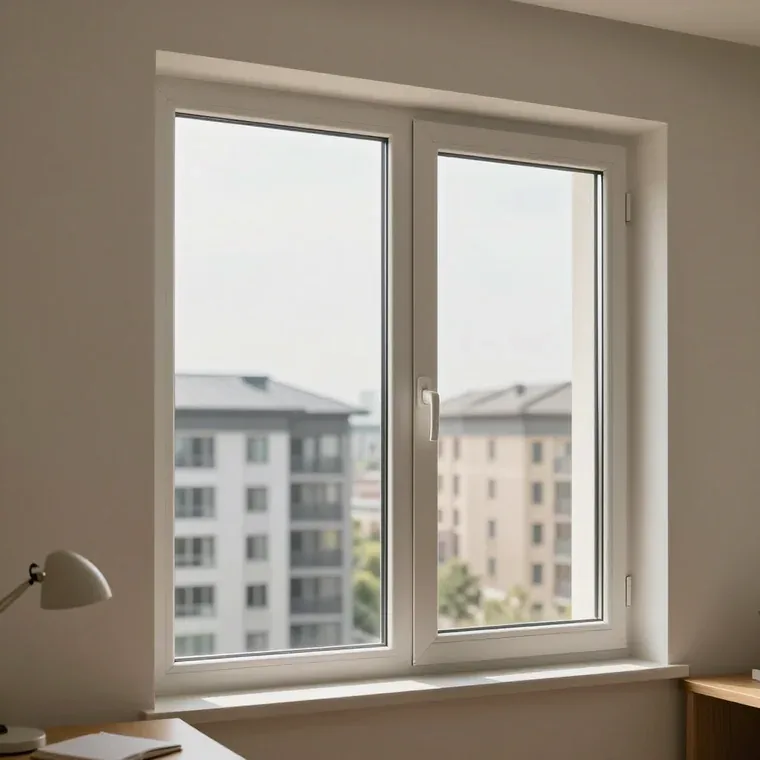
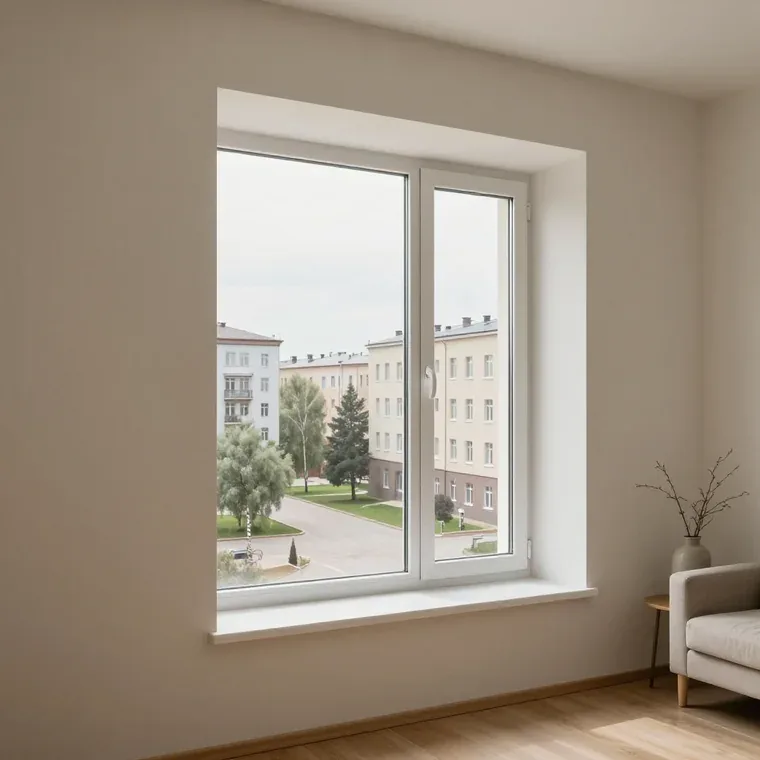
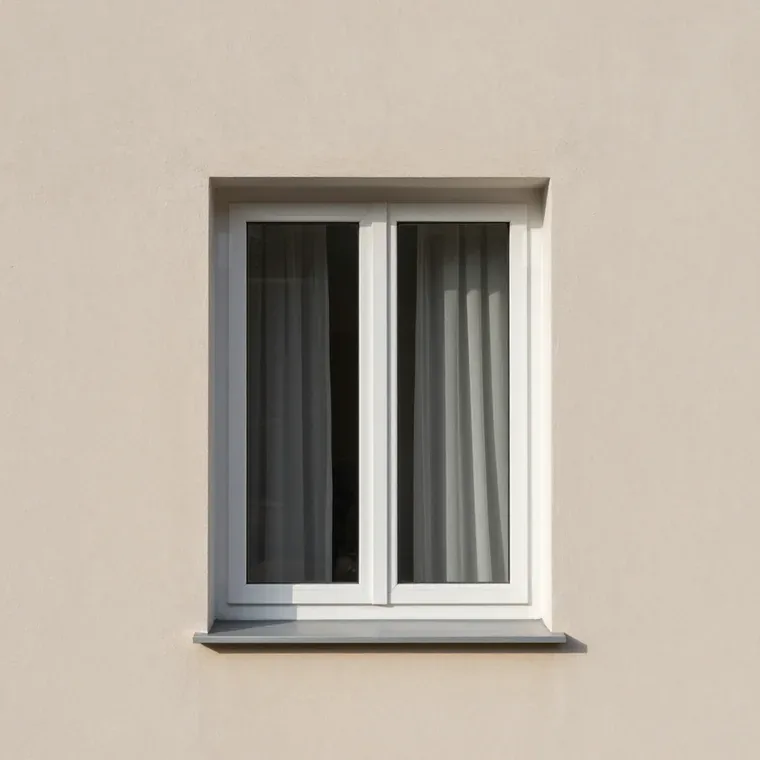
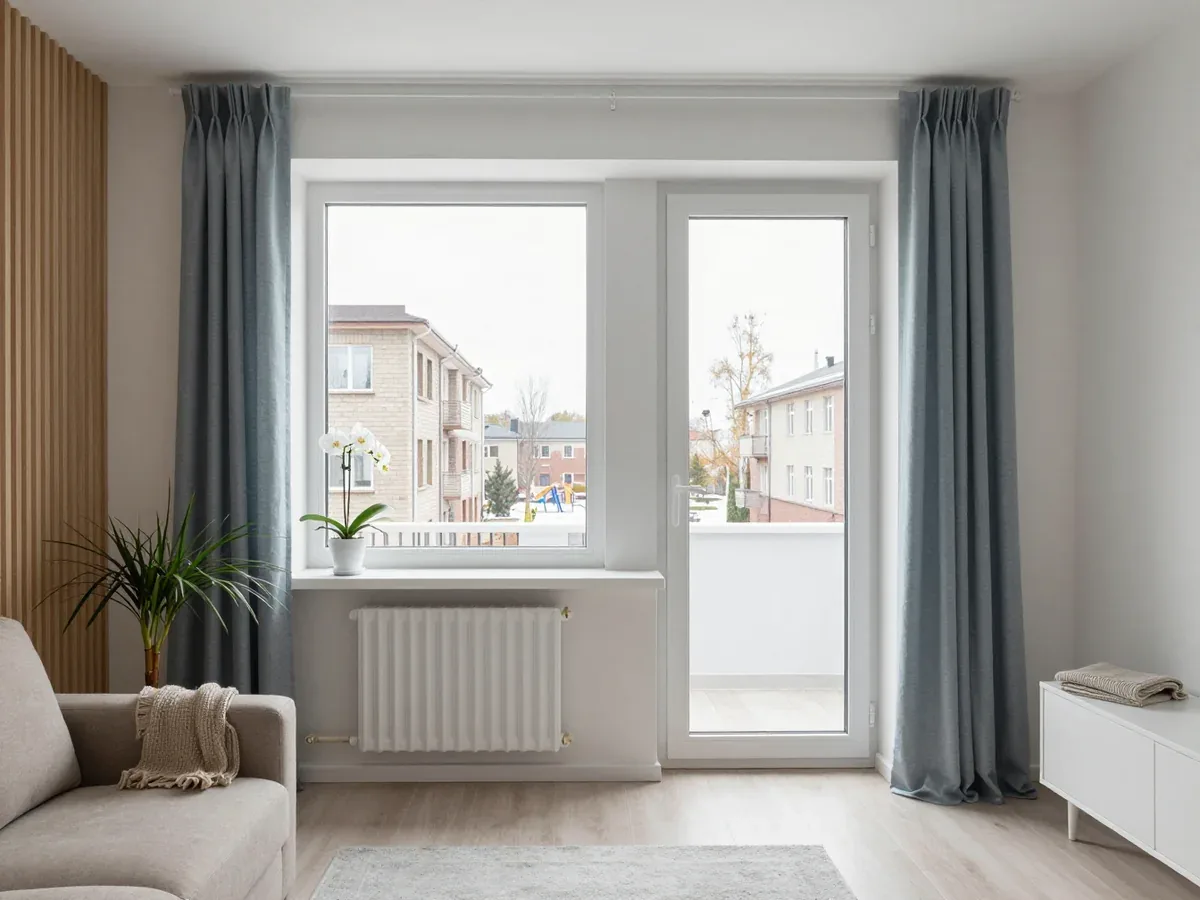
We handle window reveal finishing in Astana as a direct contractor with our own fitters, not through a middleman. The free measuring visit fixes the reveal material, fixings and price in the order, and you pay only after installation. Reveals are fitted to plastic, wooden and aluminium windows, including loggias, gazebos and verandas.
Choosing window reveal finishing that holds up to the Astana climate
Sharp frosts, spring dust storms and wide temperature swings put a reveal through more than most surface finishes expect. The material decides how the window edge handles cold, damp and dirt over the years.
Plastic, plaster or drywall for a window reveal
| Material | Best for | Moisture and frost | Finish |
|---|---|---|---|
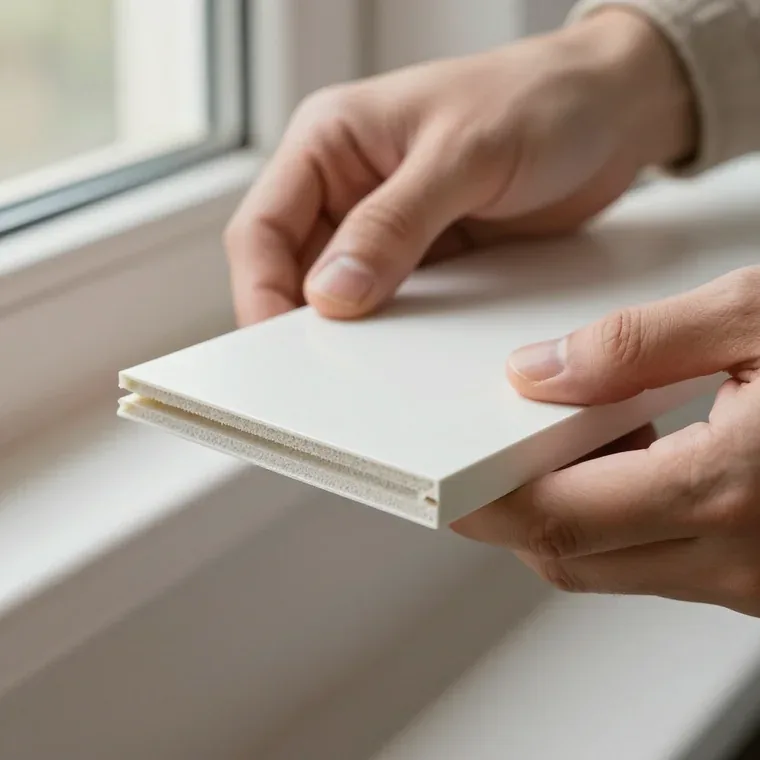
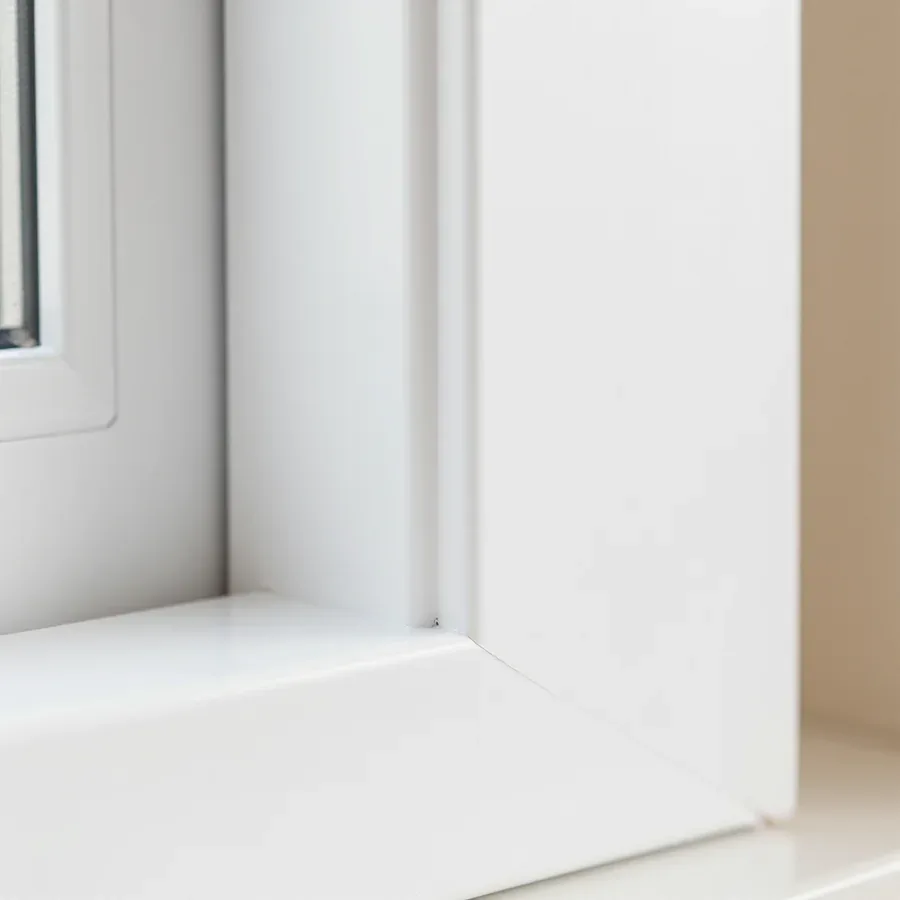
| Plastic reveal panels | Standard windows, panel blocks | Resists damp, easy to wipe | Ready-made white or coloured |
| Plaster reveals | Seamless painted look | Good once sealed and insulated | Painted to match the wall |
| Drywall reveals | Curved or complex openings | Needs a vapour barrier | Painted or tiled |
| Panel thickness 8–10 mm | Everyday window reveals | Holds shape, hides uneven masonry | Clean straight edge |
Why reveals frost and sweat in Astana winters
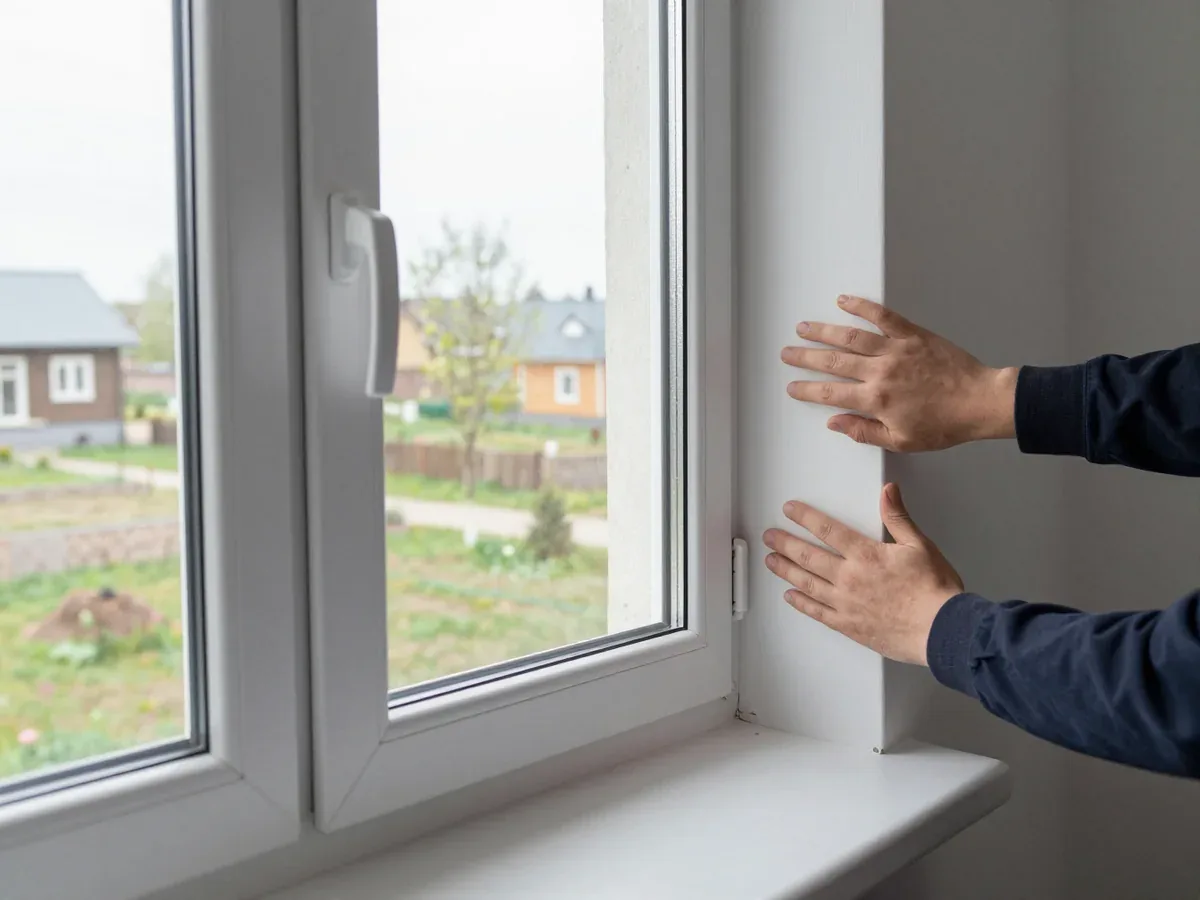
We see frost and condensation on reveals when cold bridges at the frame joint are left unsealed and the insulation under the reveal is too thin. In panel blocks the masonry behind the reveal is often a hollow void, so chilly air reaches the plaster directly and the surface drops below the dew point. A 10 mm insulation layer plus a continuous seal along the frame stops that path; a gap of a few millimetres at the top corner is enough to bring the frost back. A reveal that feels freezing to the touch in winter is a sign the gap behind it was not filled, and no surface material will fix that on its own.
How long a reveal lasts and what shortens its life
A well-fitted plastic reveal serves for many years, while a plaster reveal lasts as long as its paint and the masonry behind it stay dry. Plastic panels resist dust and cleaning without losing colour, but the frame profile they clip onto must sit flat, or the panel edges spring open within a season. Plaster cracks first along the corner where the surface meets the frame, because that seam moves with every temperature change. Most reveal failures start at the edges, where a thin seal lets dust and moisture in, so the perimeter detail decides the lifespan more than the panel grade.
How window reveal finishing is fixed when the wall and window are not level
Perfectly level openings are rare, especially in older blocks. Here is how a reveal is fixed without taking the unit out, and what to do with a wall that runs off the square.
Glue, frame or brackets and what the measurer checks
- Z-brackets: the default on most plastic profiles, set into the wall and holding the panel clear of the joint.
- Pins and plungers: used where the reveal is narrow and drilling the profile would weaken it.
- Magnets: chosen for panels that come off during cleaning or seasonal removal.
- Profile depth: the measurer checks how far the frame sits from the wall before picking a fixing.
- Floor height: upper floors take more wind load, so the fixing must hold against pressure, not just weight.
- Base condition: crumbly plaster or loose brick rules out glue and pushes the choice toward a frame.
Finishing over old reveals without removing the unit
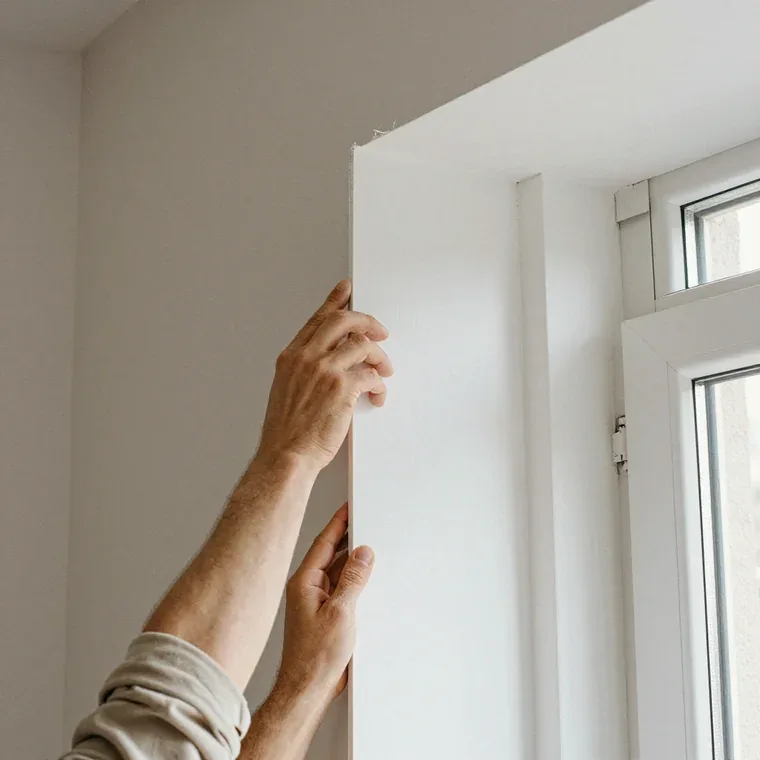
The unit does not need to come out to finish a reveal, and old panels can often be covered with new ones if the base is sound. Plastic reveal panels are cut to the measured opening and fixed either on adhesive or on a light frame, so the sash, the glass unit and the structure stay exactly where they were set. The old surface is checked first: hollow plaster is knocked back to solid ground, and any gap wider than a few millimetres behind the panel is packed before covering. Covering old reveals only works when the joint at the frame is still sealed; if air leaks there, new plastic hides the draught instead of stopping it.
What to do when the sash stops closing after the work
We check the frame and the sash adjustment whenever a unit starts catching after reveal work, because a panel fitted too tight can press on the hardware. The usual cause is a reveal pushed past the sash line, so the plastic rubs the handle side or stops the sash from seating on the seal. Adjusting the hardware takes minutes and leaves the new panels in place; trimming the panel is the second step if the structure itself is sound. A unit that drags after finishing is usually a sign the reveal was pushed against the sash line, and a quick adjustment beats redoing the panel.
Stopping condensation and draughts with window reveal finishing around the reveal
Condensation on a reveal is not a cosmetic nuisance — it points to a thin layer of insulation and a worn gasket behind the surface. Below we show what to check and in what order.
Where the moisture on a reveal actually comes from
Moisture on a reveal usually comes from warm indoor air meeting a cold surface where the insulation behind the reveal is thin or missing. The profile sits at roughly outdoor temperature, so the slab next to it cools faster than the wall, and water settles on the coldest patch first. In practice the source is a gap between frame and wall that was never packed, or packing that has settled and compressed over several winters. Wiping the reveal dry treats the symptom; the panel stays cold until that gap is filled, so the water returns with the next cold snap.
Pairing reveal work with seal and glazing repair
- Gasket replacement: we swap the worn gasket on KBE, Rehau, VEKA and Provedal profiles before the reveal goes back on.
- Sash adjustment: the fitter re-hangs and tightens the sash so it closes flush along the whole perimeter.
- Insulation behind the panel: the gap between frame and wall is packed before the reveal is fixed, so the surface stops running cold.
- One visit, one unit: gasket, adjustment and reveal work happen together, so the same unit is not booked twice.
The free measuring visit and how the window reveal finishing order runs
From your first message to the finished reveal the route is short: a free measuring appointment, a choice of material and fixings, then payment once the work is done. Below is what each stage involves.
What the measurer does and what gets fixed in the order
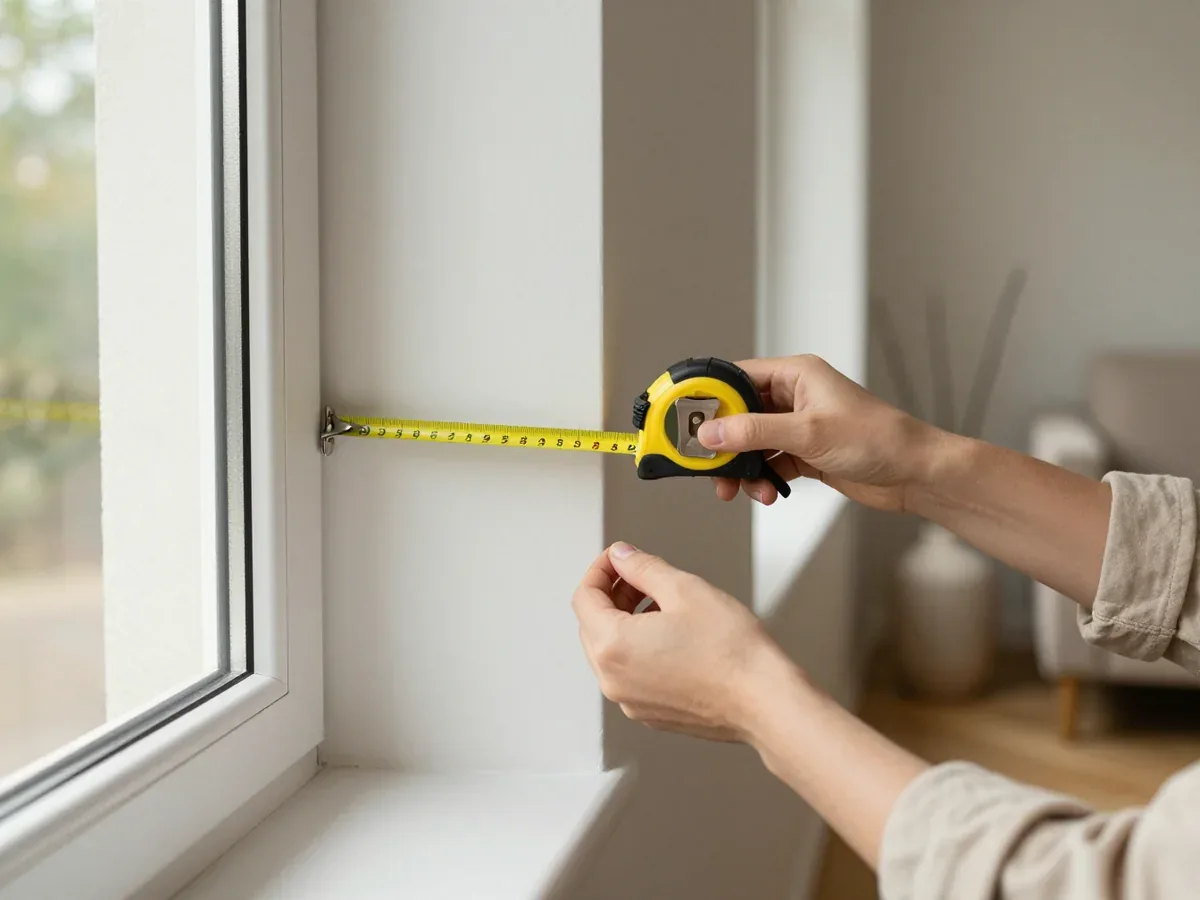
The measurer arrives at a time that suits you, takes the sizes, helps choose the reveal material and fixings, and the price is then fixed in the order. The visit and the consultation cost nothing, and the same appointment weighs the profile, the wall condition and the reveal depth — the three things that decide how the panel will sit and what holds it. For window reveal finishing astana owners often book the weekend slot, since our team works seven days a week. The specialist also checks whether the old reveal can stay under the new one or has to come off first. Because the price is locked once sizes are taken, the figure you settle on is the figure you pay, with no re-measuring surprises later.
Working time, payment and what the warranty covers
| Item | What it means for you |
|---|---|
| Payment | After installation — cash, card or Kaspi |
| Window repair | One year on labour and replaced parts |
| Window installation | Five years |
| Glass unit replacement | Three years |
| WhatsApp reply | Within five minutes |
| Opening hours | Seven days a week, 09:00–22:00 |
Window reveal finishing for wooden, aluminium and non-standard windows
Plastic is not the only frame we finish around. Timber, metal profiles, loggia glazing, gazebos and verandas all come up, and each one changes how the reveal is fixed and sealed.
Wood and aluminium frames need a different approach
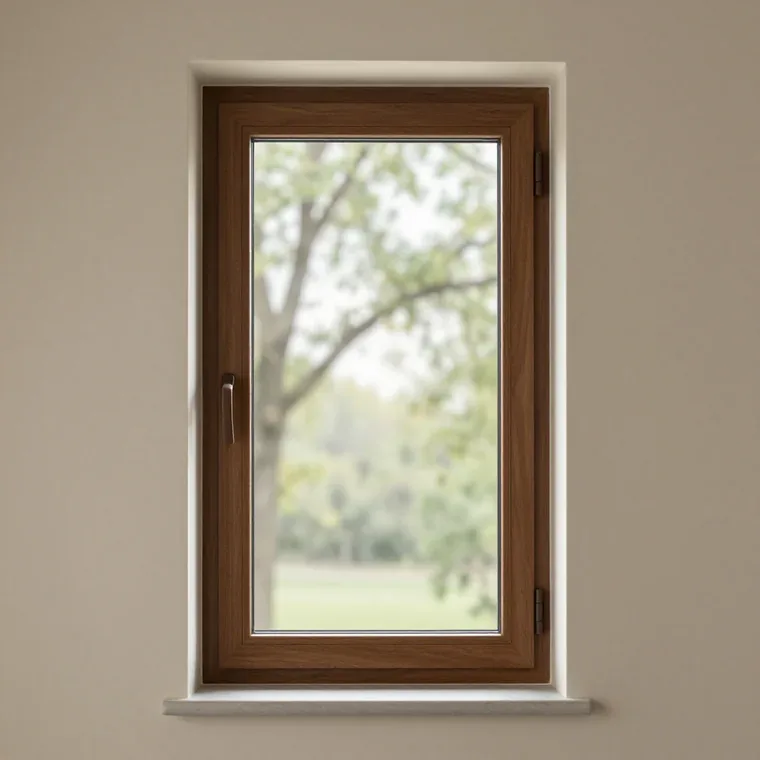
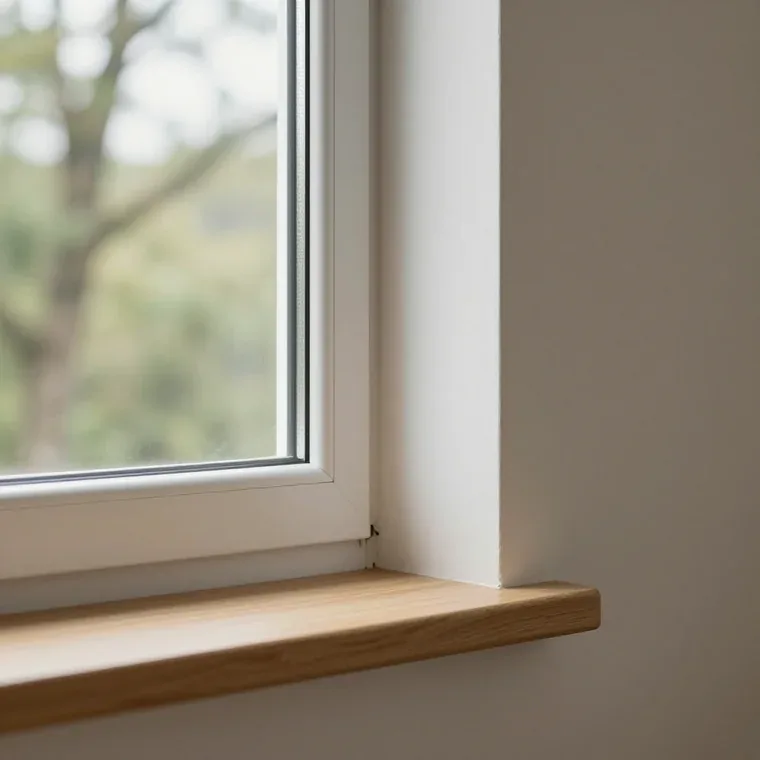
We fit reveals on plastic, wooden and aluminium frames, and on timber and metal the fixing and the gap behind the reveal are handled differently from a plastic frame. On timber we leave a small movement gap and pack the cavity so the panel does not press on the frame as the wood swells and dries through the seasons. On metal the profile is thin and cold, so the insulation layer sits closer to the frame and the vapour barrier runs continuously behind it. The fasteners follow the same logic: brackets or pins are chosen for the profile wall thickness, not for the plastic standard. Timber moves with the seasons and metal conducts cold, so the reveal on each needs its own seal detail rather than one standard panel.
Loggias, gazebos and verandas
- Loggia glazing: glazed balconies sit on a colder slab, so we insulate the cavity before closing it.
- Gazebos and verandas: these openings are exposed on more sides, so the reveal must take wind load without cracking at the corners.
- Seal first, finish second: on unheated structures we run the seal and insulation before any surface work, because a decorative panel hides a draught rather than stopping it.
- Fastener choice by exposure: on open structures the measurer picks fixings that hold through temperature swings, not the lightest option.
What to know about reveal finishing and measuring
A reveal lasts when the panel, its fixing and the seals are settled as one job. These five points are what to keep in mind when you plan the work.
- Material and fixing go together: pick the panel and the way it is held at the same time, since a heavy slab on weak glue behaves differently from a light one on brackets.
- Moisture means seals, not panels: condensation on a reveal points to insulation and the seal, so treat those first before blaming the finish.
- The measuring visit locks the details: the measurer records sizes and fastenings, and the price is confirmed in the order only once that visit is done.
- Wood and aluminium need a separate solution: such frames take different fastenings and profiles than standard plastic, so the approach is set on site.
- Paying once the work is checked lowers the risk: you settle in cash, by card or through Kaspi when installation is complete and inspected, never in advance.
 Window replacement
 Window insulation
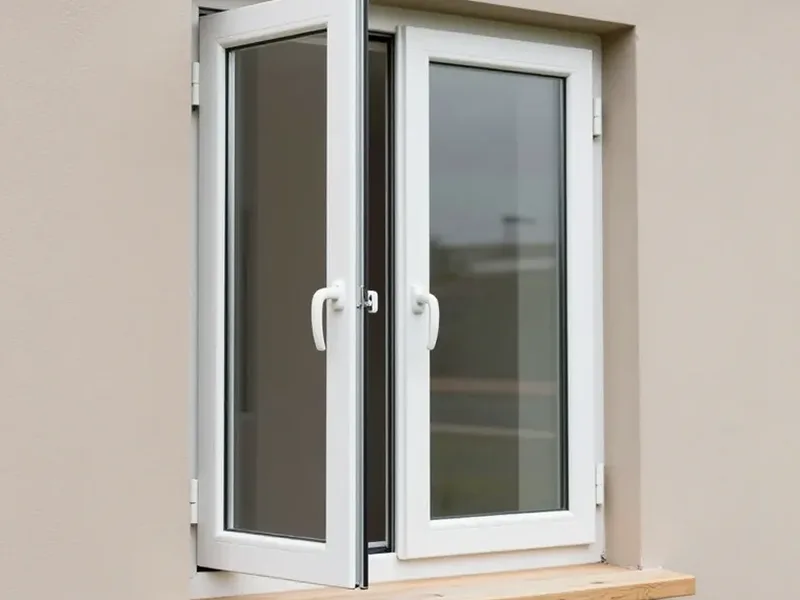 Balcony glazing
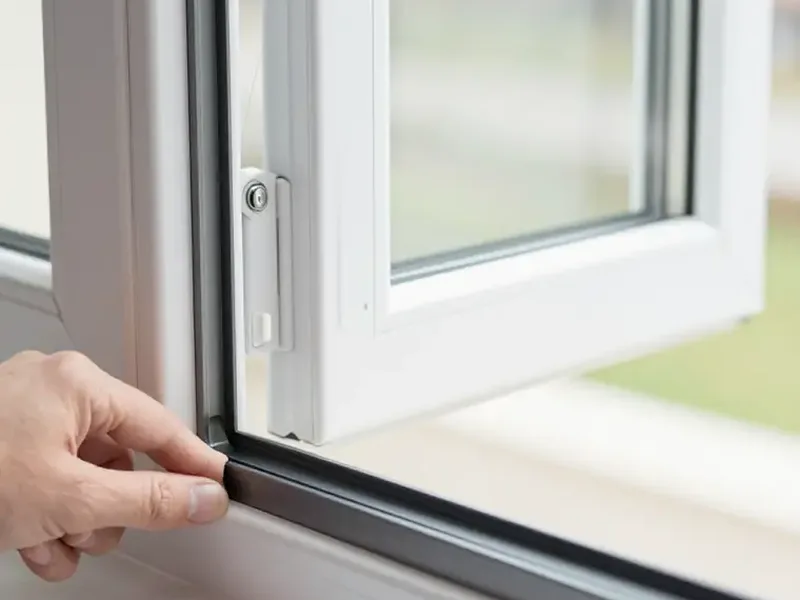 Seal replacement
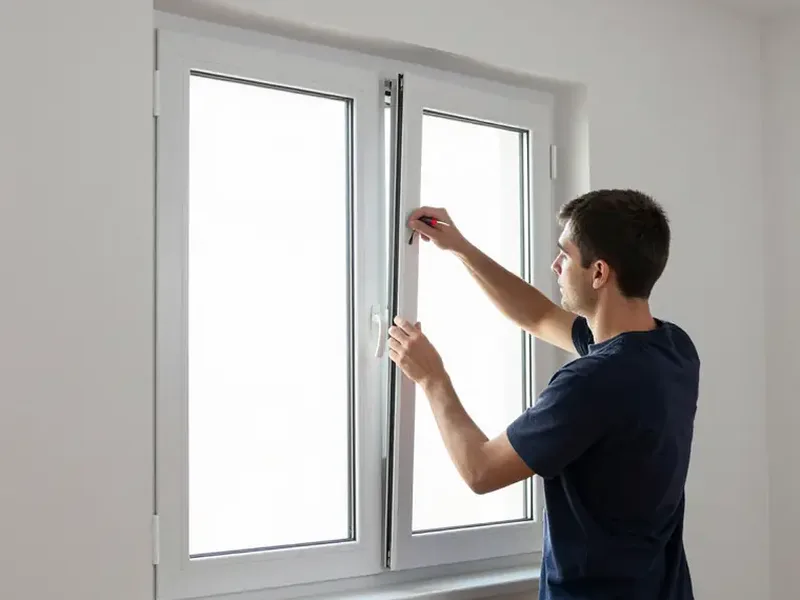 Window adjustment