




Good to know
Window Reveal Finishing in Karaganda

Senior mosquito screen specialist at moskitnyesetki.kz
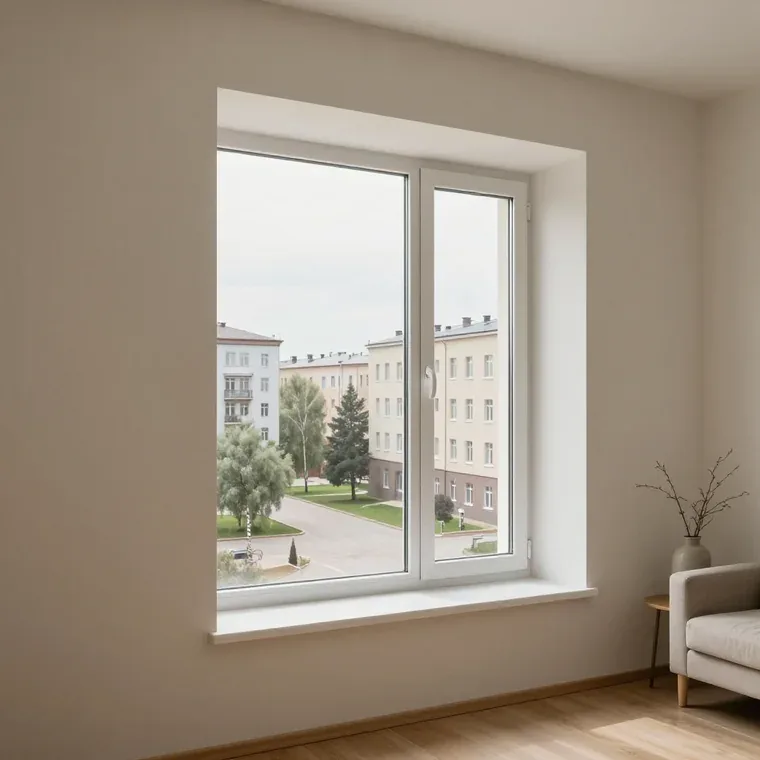
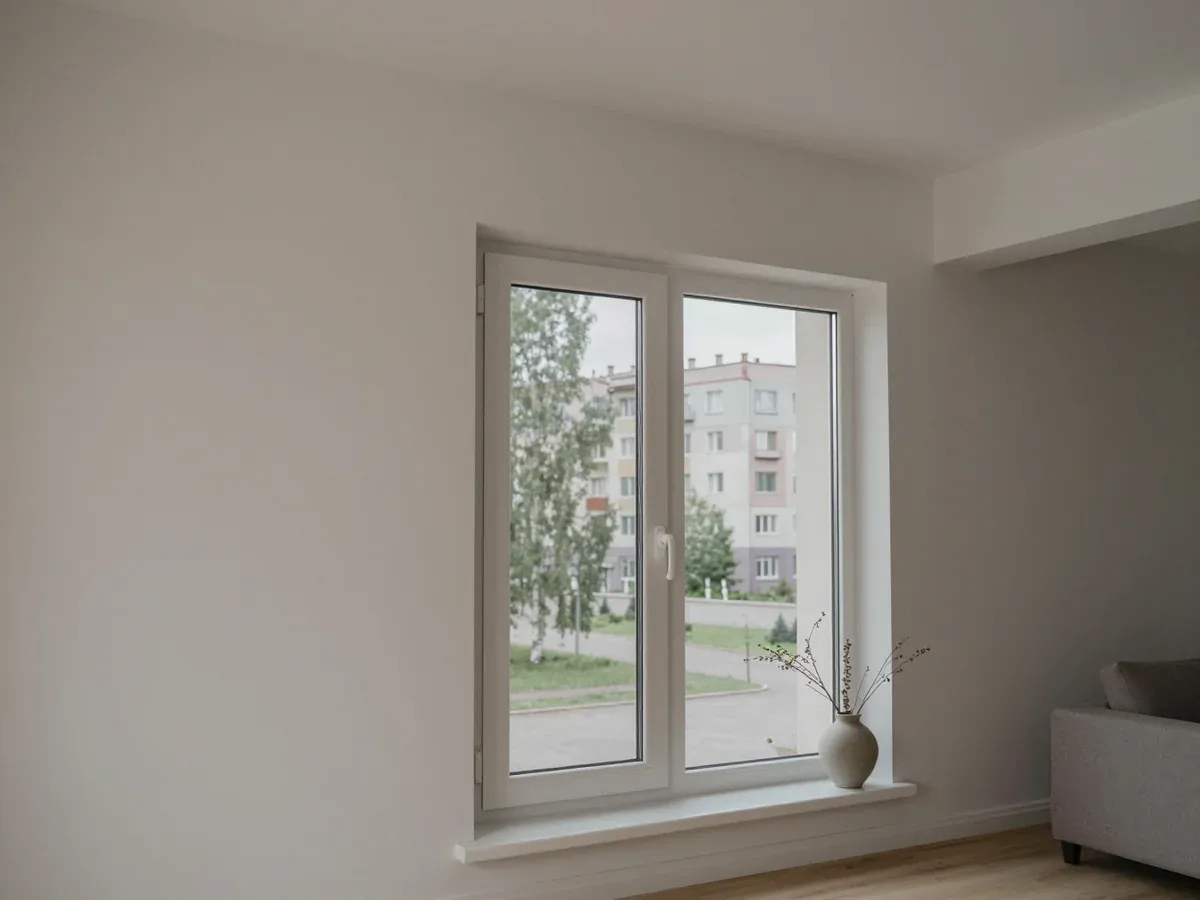
We handle window reveal finishing in Karaganda with our own fitters, from a free measuring visit to sealed, insulated reveals. The measurer helps you pick plastic, plaster or plasterboard panels for your window type, the price is fixed in the order after measuring, and you pay only after installation by cash, card or Kaspi.
Which window reveal finishing material suits your room
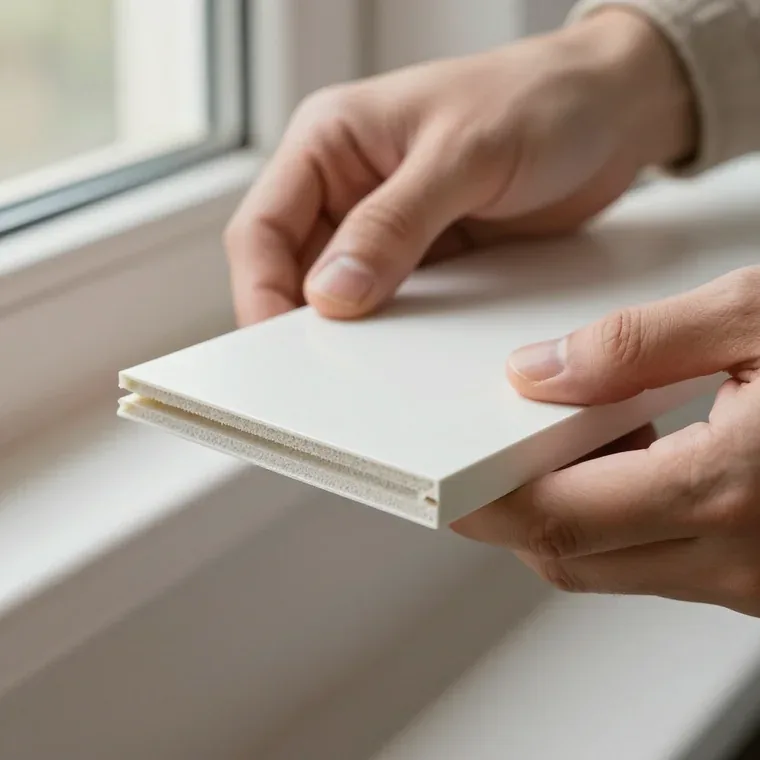
Plastic, plaster, plasterboard and tile solve different problems around an opening. The choice depends on the frame type, the moisture in the room and whether the reveal will be painted or papered afterwards.
Plastic, plaster or plasterboard panels compared
| Material | Best for | Finish needed |
|---|---|---|
| Plastic panels | Bathrooms, kitchens, quick installs | None, ready after fitting |
| Plaster | Rooms to be painted or papered | Primer and paint after drying |
| Plasterboard | Uneven walls, painted finish | Joint filling and paint |
| Tile | Wet zones, splash areas | Grout and sealant |
Reveals for wooden, aluminium and balcony windows
We finish reveals on plastic, wooden and aluminium frames, plus balcony, loggia, gazebo and veranda openings. For window reveal finishing in Karaganda, the frame material decides how the panel is anchored. On timber frames the panel is fixed to the wall rather than screwed into the wood, so the frame stays free to move with the seasons. Aluminium barely shifts with humidity, so a tighter joint against the profile holds without stressing the sash. Balcony and loggia openings usually take a wider panel, and small vents are trimmed to size on site. In our practice the awkward cases are old timber frames that have already swollen — there a thin board on battens keeps the surface straight without trapping the wood. Ask the fitter to check that the reveal never bridges the frame and the wall in one rigid piece.
How the free measuring visit and window reveal finishing fitting run
The order starts with a free measuring visit, then comes gap preparation, sheet fitting and sealing. The unit stays in place throughout, so no glass has to come out.
From measuring to a sealed reveal step by step
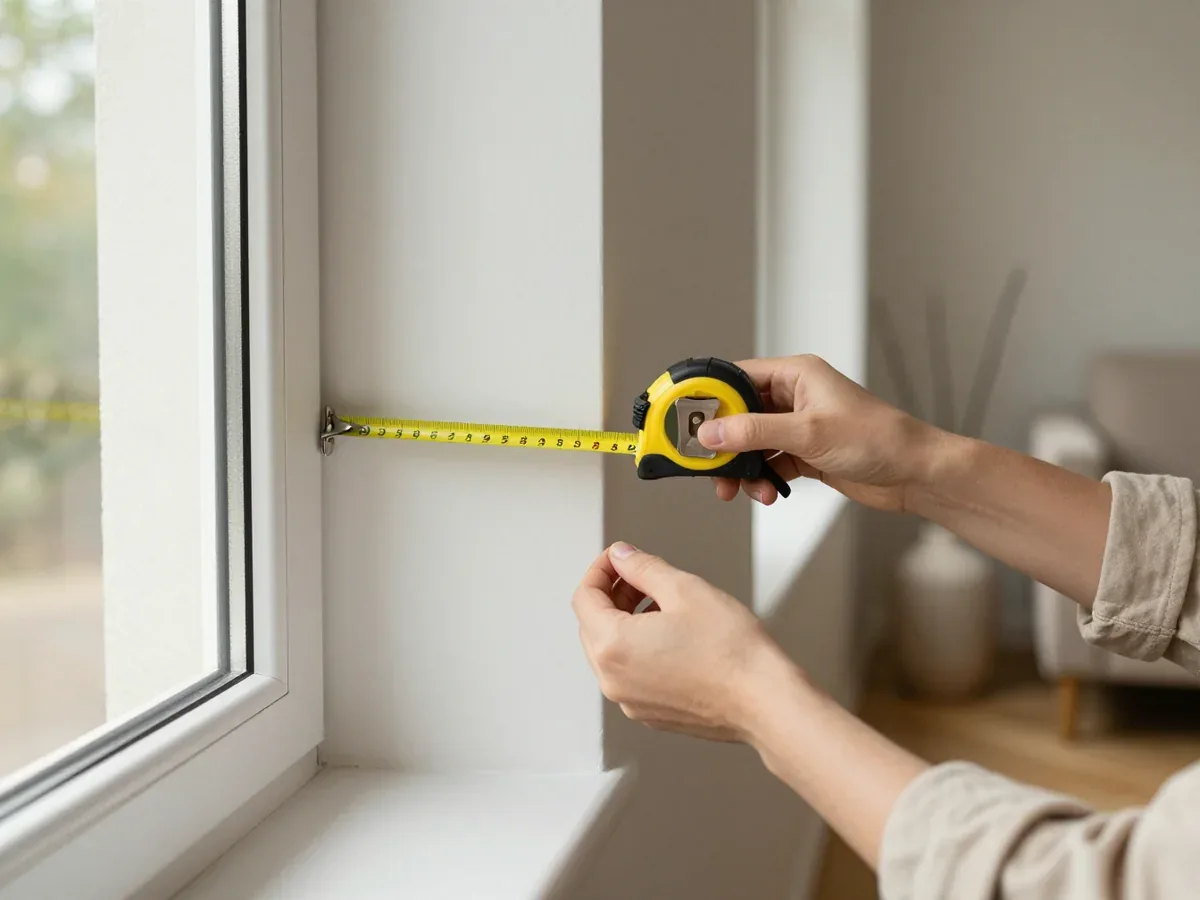
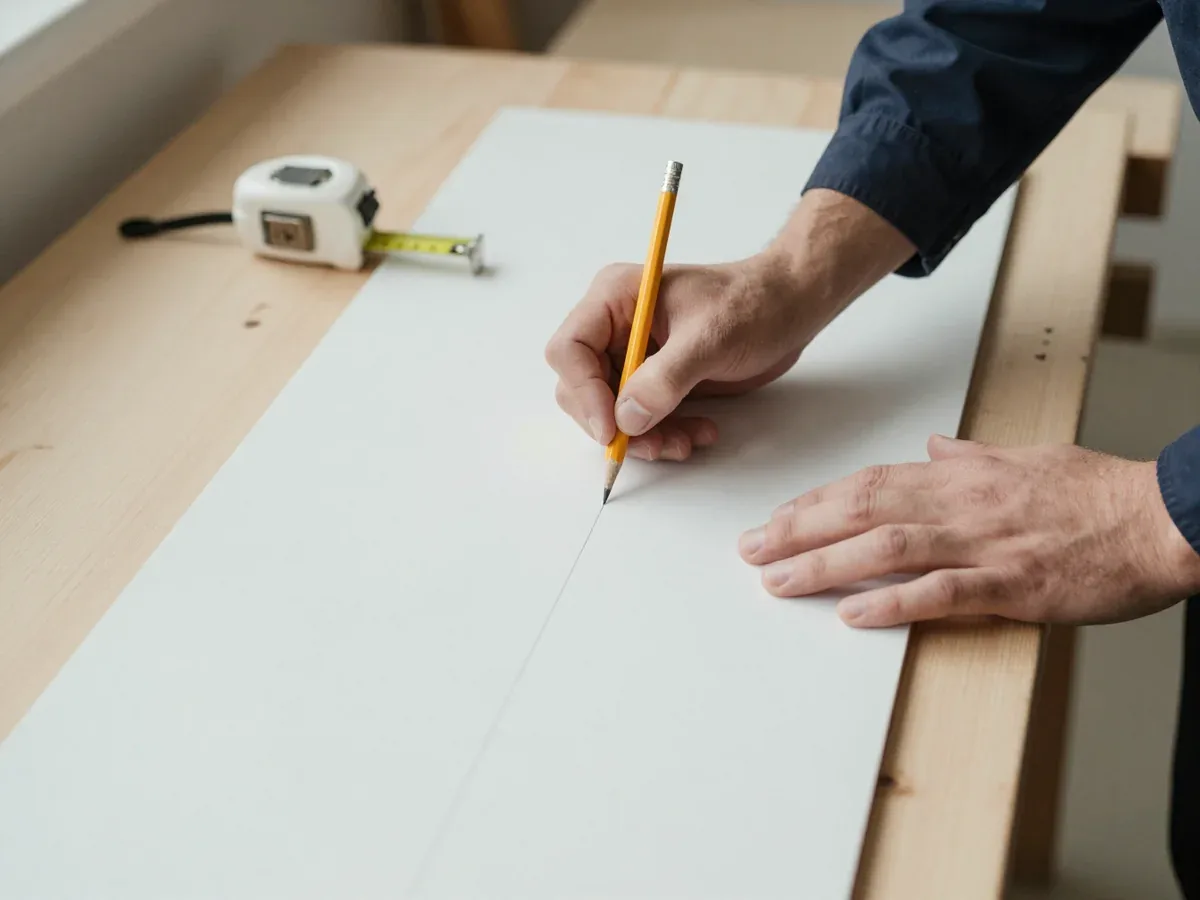
- Free measuring visit: the measurer arrives when it suits you, records the reveal width and depth, and helps pick the sheet, insulation and fixings.
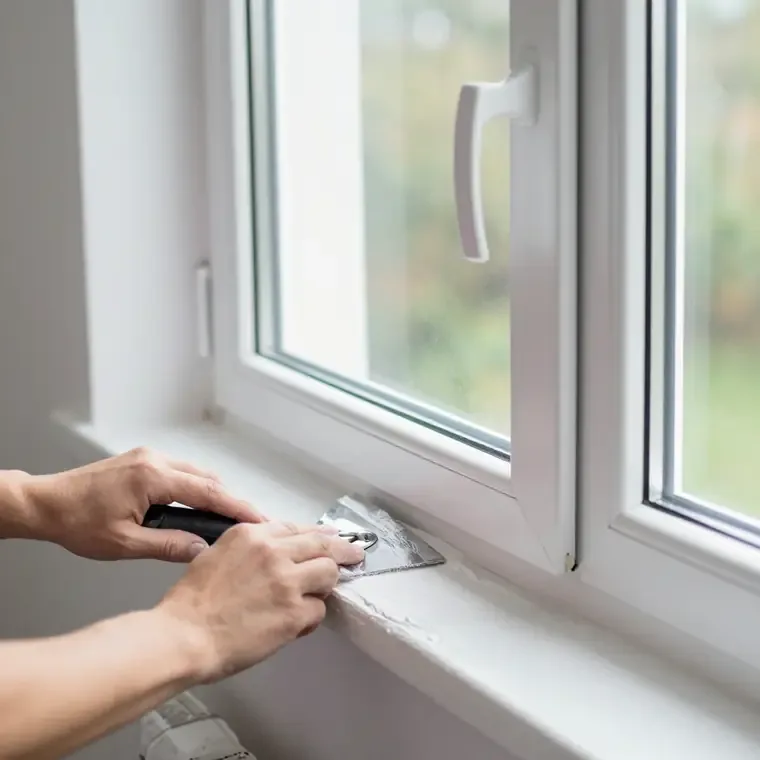
- Gap preparation: loose plaster and old foam come out of the opening, and the joint to the wall is cleaned before anything new goes in.
- Insulation and foam: mineral wool fills the deep part of the opening, expanding foam closes the narrow gap around the frame edge.
- Cutting to size: the board is trimmed to the measured dimensions, with the cut edge sealed so moisture cannot creep into the core.
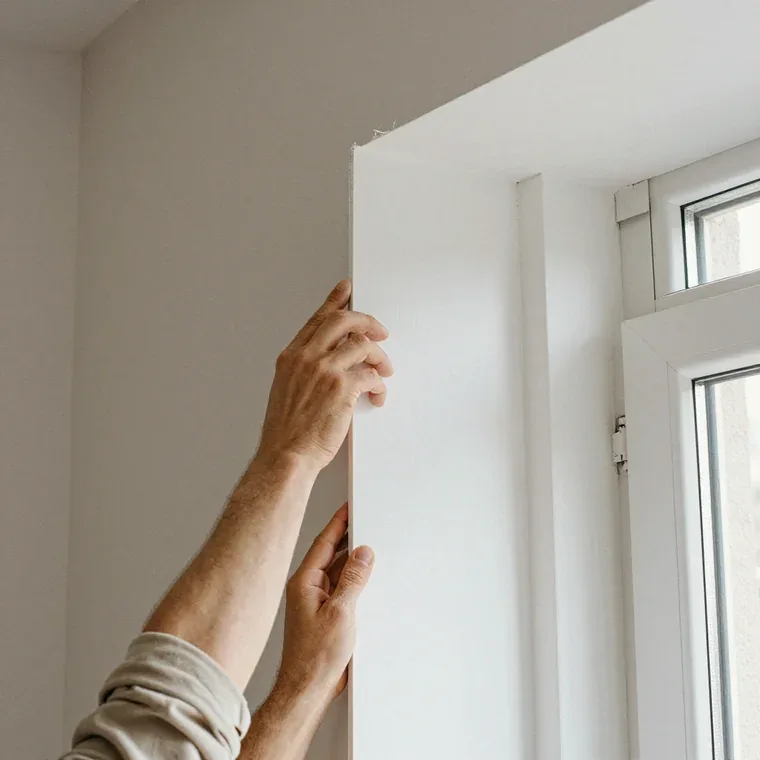
- Fitting and fixing: the sheet goes against the frame, is checked with a level, and is held by adhesive and hidden fixings.
- Sealing and final check: acrylic sealant closes the joints, corner beads go on, and the master opens the casement to confirm nothing rubs.
Can you order reveals together with repair work
We combine reveal finishing with repair, adjustment and seal replacement in a single visit, so the opening is sealed before the boards go on. A worn gasket or a casement that no longer pulls tight is dealt with first, then the trim is built around a unit that already works. Our repair service carries a one-year warranty on labour and replaced parts, and installation work is covered for five years. Seal replacement covers profiles from KBE, Rehau, VEKA and Provedal, so older units across the city are not turned away. Fixing a draught or a worn seal first means the new finish is not hiding a leak that will show up as damp later.
Stopping condensation and mould with window reveal finishing
Condensation and mould around a reveal almost always trace back to a cold or draughty joint behind the panel, not to the panel material itself. Sealing the seam and insulating the gap removes the cause.
Why a reveal gets cold and how insulation fixes it
We insulate the gap under the reveal before fitting, because an uninsulated reveal stays cold and collects moisture on its inner face. Mineral wool fills the deeper cavity behind the frame, while slim foam board suits the narrow strip where the wall meets the opening; expanding foam closes uneven pockets and bonds the layers into one continuous barrier. A warm inner surface stays above the dew point, so water stops forming on the panel and the plaster skim. Insulation only works if the joint is also sealed, so we fill the gap and close the seam rather than relying on the panel alone. Skipping the vapour-tight seal leaves warm room air free to reach the cold zone from inside, and that is where the first damp patch appears.
Checking the finished reveal for draughts and damp
- Seam line: pass a hand along the joint between panel and wall on a cold day; a steady cool draught means the seal has failed.
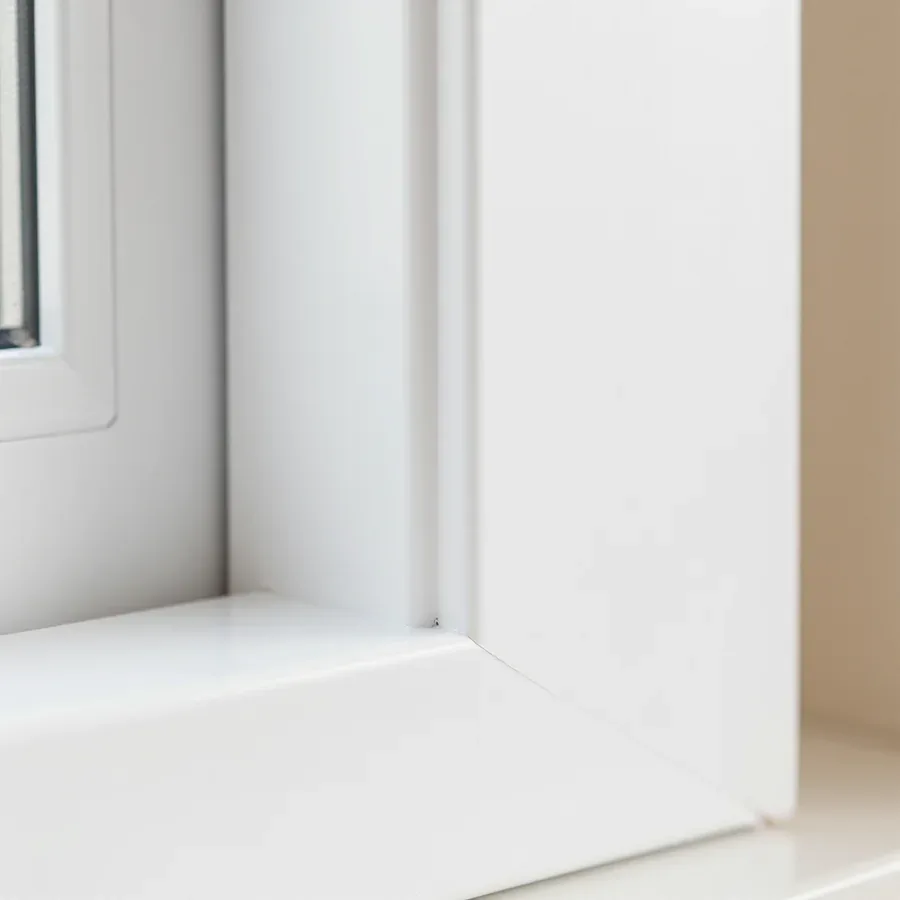
- Frame edge: the panel should sit flush to the frame with no visible gap or shadow line where dust collects.
- Corners: press a dry tissue into the lower corners after a cold night; a damp patch points to a cold bridge behind the finish.
- Surface feel: the inner face should feel room-temperature, not noticeably chillier than the surrounding wall.
- Mould spots: small dark dots near the seam mean moisture is trapped, so the joint needs resealing rather than repainting.
Warranty, timing and how the window reveal finishing order is agreed
The terms are straightforward: your quote is locked in the order after measuring, settlement comes when the work is done, and the adjacent installation jobs carry their own cover. Here is what that means in practice.
What the warranty covers and how long the finish lasts
We give a 5-year guarantee on installation and a 1-year guarantee on repair, covering both labour and the parts we replace. The reveal finish follows the same repair terms: if a panel joint opens or a sealant line lifts within those first twelve months, our fitters return and put it right. On a properly insulated reveal, the panels and trims hold for many seasons without a call-back — they are not the weak point, the joint behind them is. In our practice, a reveal sealed and insulated at fitting is far less likely to need a return visit than one mounted over a draughty, unsealed gap. That is why the free survey stage matters more than the material you pick.
Fixing the price, payment and getting in touch
- Quote locked in the order: the figure is confirmed once measuring is complete and does not move during fitting.
- Settlement when the work is done: you pay in cash, by card or through Kaspi once the reveal is finished and checked.
- WhatsApp in 5 minutes: send a photo of the opening and we answer within five minutes during opening hours.
- Open seven days a week: survey visits can be booked for any day, weekends included, at a time that suits you.
- Our own fitters: the person who takes the measurements is the one accountable for the finished reveal, with no middleman in between.
Repairing old window reveal finishing or replacing them
A cracked or lifting reveal does not always need to come off. Often the joint and the facing can be restored, and the opening keeps its existing finish.
When a reveal can be repaired and when it has to go
We repair existing reveals where the panel is sound and only the joint or its facing failed, and replace them where the board is warped or the gap behind is wet. A hairline crack above the frame usually means the sealant has dried out, and resealing that line restores the finish without touching the panel. A board that has bowed away from the wall, or springs back when pressed, lost its fixing and must come down. If the old cladding hides a damp cavity, patching the outer skin only postpones the problem, so the unit comes off and the void is dried and sealed first. On our measuring visit we press along the edge and check the cavity with a moisture reading before quoting either repair or replacement.
Winter fitting and keeping reveals clean
Plastic reveals can be fitted in cold weather, while plaster and plasterboard work needs the room kept warm until the coating dries. A plastered surround holds moisture for days after the topcoat goes on, so the room stays heated and ventilated rather than sealed shut. Wallpaper goes back over a plastered reveal only once the wall reads dry to the touch and the surface has fully cured, otherwise the paste traps damp against the board. Wipe plastic panels with a soft damp cloth rather than abrasive cleaners, which dull the finish and make it yellow faster over time. In our practice the panels that stay clean longest are the ones wiped monthly with plain water and a microfibre cloth, with no solvent near the edge.
Key points on reveal finishing and warranty
A reveal lasts when the material suits the room, the gap is insulated and the width is measured on site instead of guessed from a drawing.
- Match the material to the room: plastic suits quick, low-maintenance spaces, while plaster and plasterboard suit painted finishes on wooden and aluminium frames.
- Seal the gap first: insulate and close the joint ahead of covering it, since most condensation and mould starts at a cold, draughty spot.
- Measure the width on site: reveal depth depends on the distance from frame to wall face, so a tape measure at home rarely gives the right figure.
- Pair it with repair work: combine the finish with repair or seal replacement so a hidden draught is fixed while it is still visible.
- Fix terms in writing: confirm the warranty period and the payment stage upfront, then check the finished joint for draughts and damp.
 Window replacement
 Window insulation
 Balcony glazing
 Window adjustment
 Seal replacement