




Good to know
Window Reveal Finishing in Taraz

Senior mosquito screen specialist at moskitnyesetki.kz
We handle window reveal finishing in Taraz as a direct fitter with our own installers, not through an agency. We start with a free measuring visit, help you pick the material, depth and fixing for your window and room, and you pay only after the work is done. Reach us on WhatsApp and we reply within five minutes.
Which window reveal finishing material suits your window and room
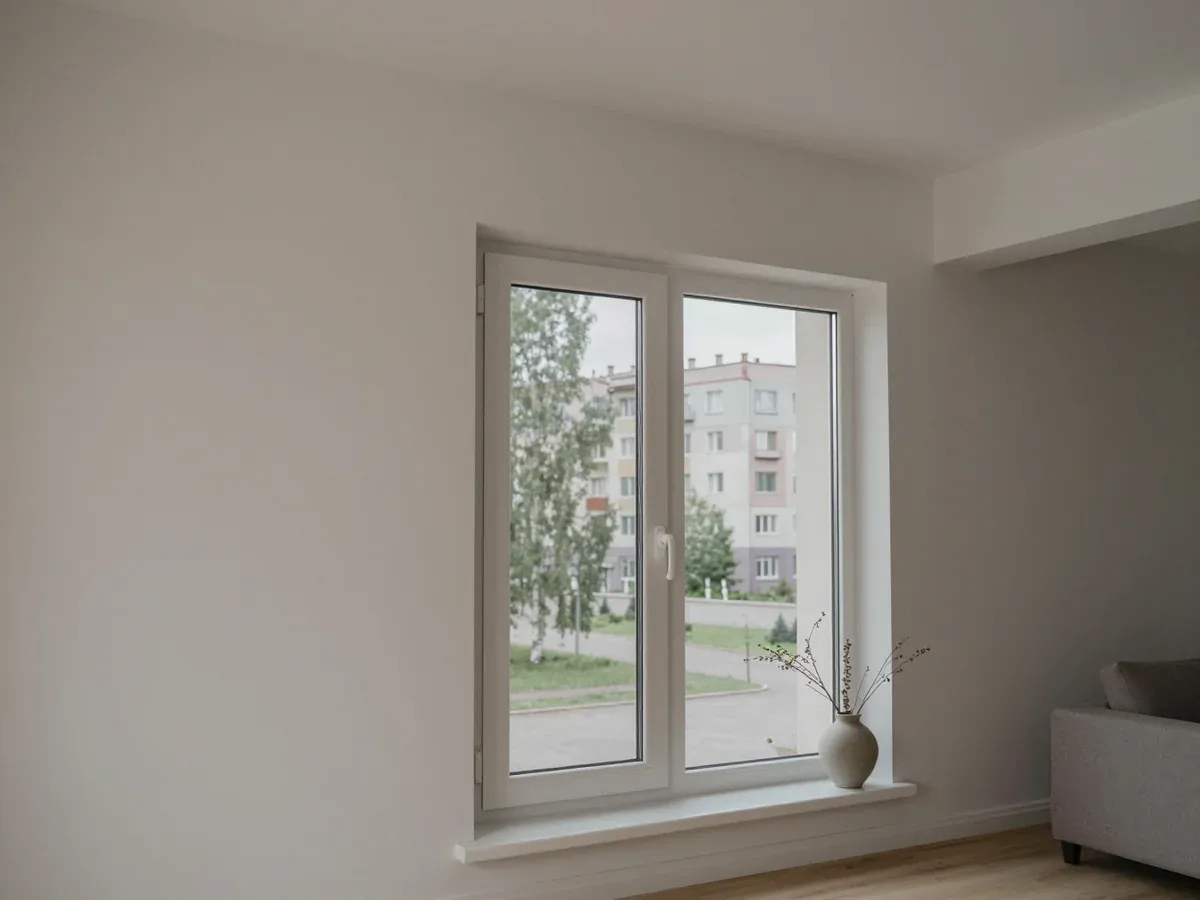
Reveals run on both faces of an opening, and the material follows the room and the window type rather than a catalogue photo. Here is how to choose without getting the depth or the surface wrong.
Plastic, sandwich panel or plaster for your reveal
| Material | Best space | Moisture | Surface |
|---|---|---|---|
| Plastic panel | Kitchen, bathroom | High | Wipe-clean |
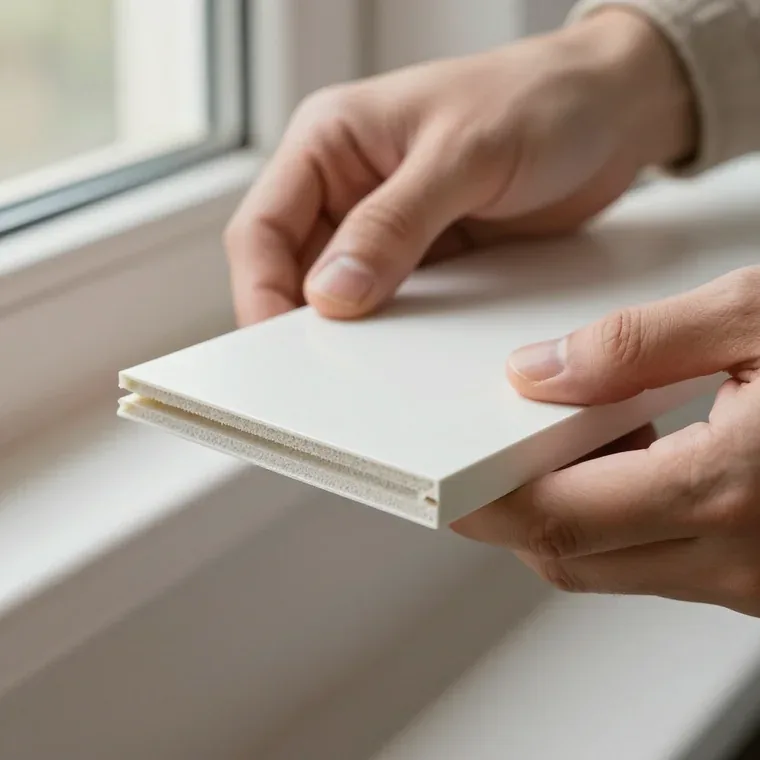
| Sandwich panel | Bedroom, cold wall | High | Wipe-clean |
| Plaster | Living room, hallway | Medium | Paintable |
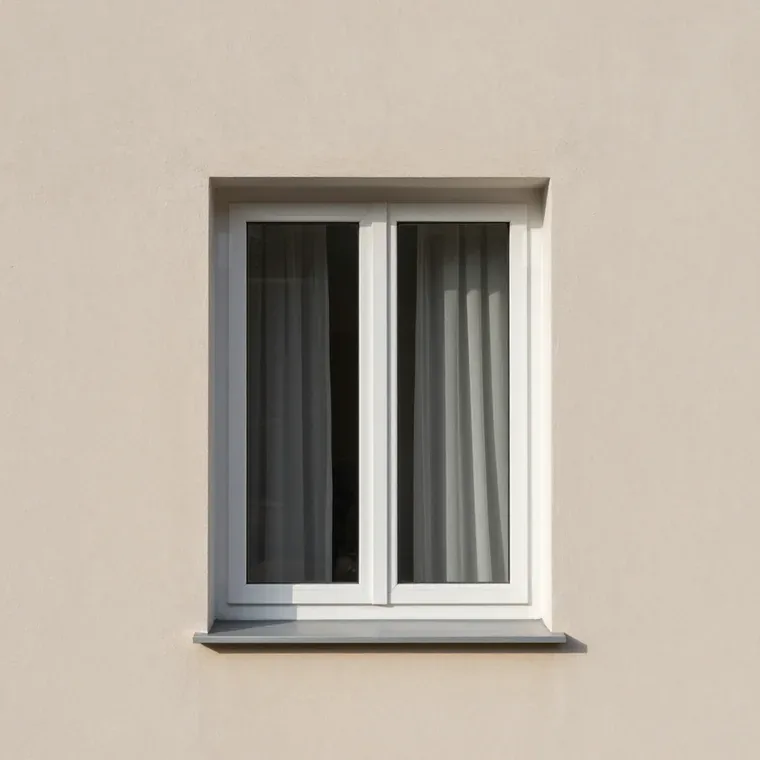
Inside and outside reveals and matching the colour to your window
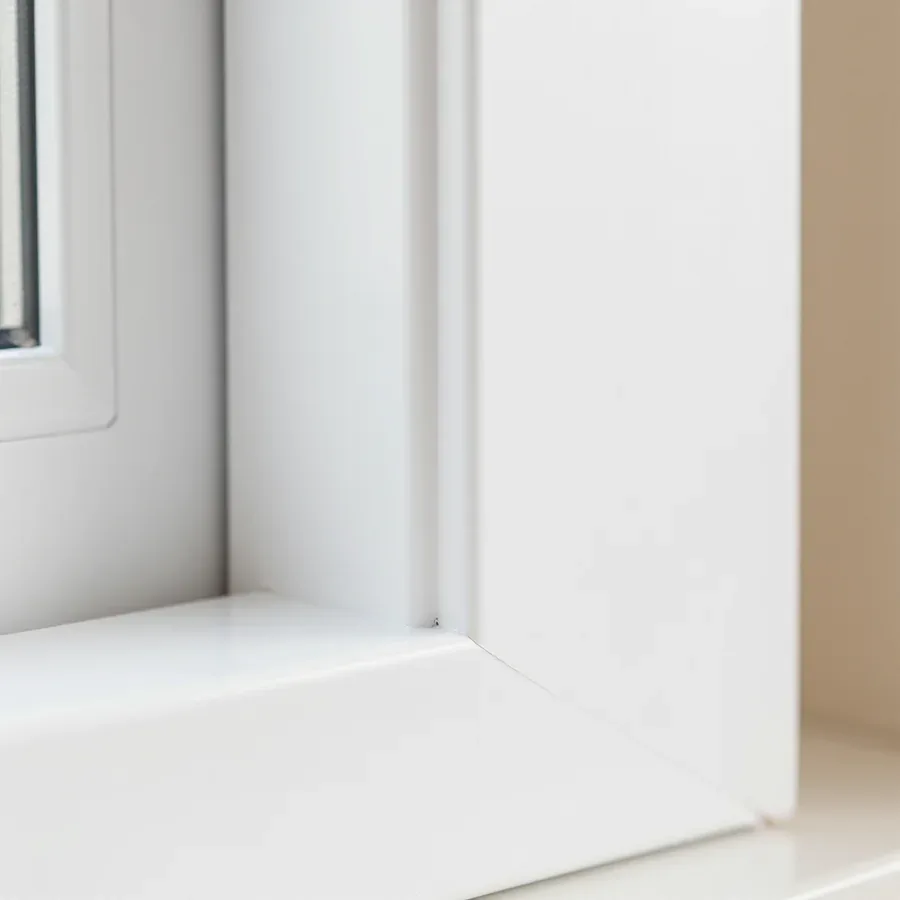
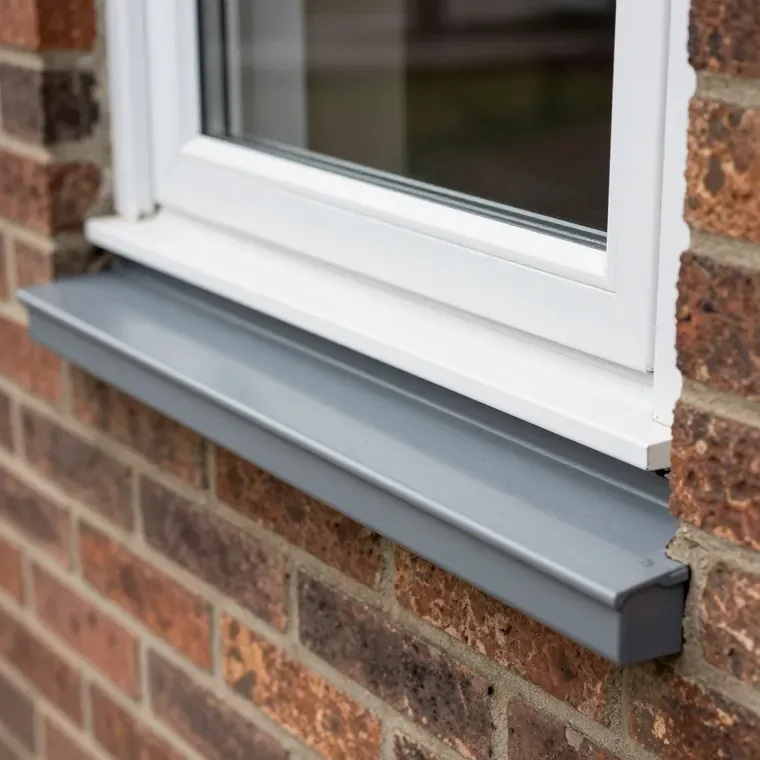
We finish both inner and outer reveals, and we agree the panel shade with the colour of your profile so the opening reads as one piece. Our fitters work on plastic, wooden and aluminium frames, plus transoms, loggia openings, gazebo and veranda surrounds, and we paint the frame any colour to match. A sandwich panel is built from two plastic skins with insulation between them, which is why it holds warmth better on a north-facing wall. Ordering the inner reveal and the outer one in the same visit usually avoids a second call-out and keeps the joint line consistent. From what we see on our jobs, homeowners in Taraz who start with the outer face first tend to change the inner colour afterwards — settle both shades at the measuring stage instead.
How the free measuring visit gets window reveal finishing size and depth right
Size and reveal depth decide how the panel sits and whether gaps show at the edges. Here is what happens on the measuring visit and why the visit itself is not billed as a separate item.
What the measurer checks and how depth is set
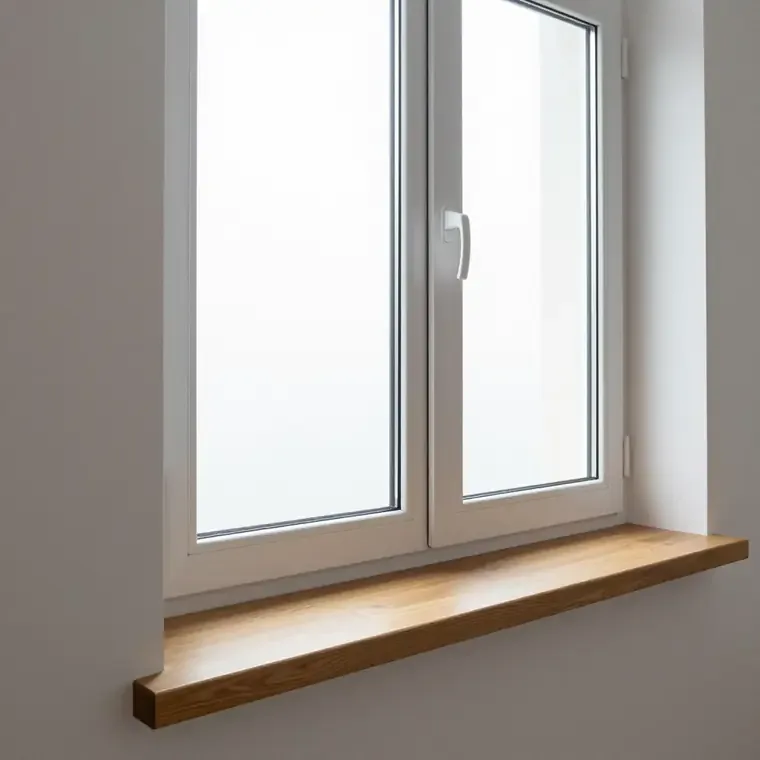
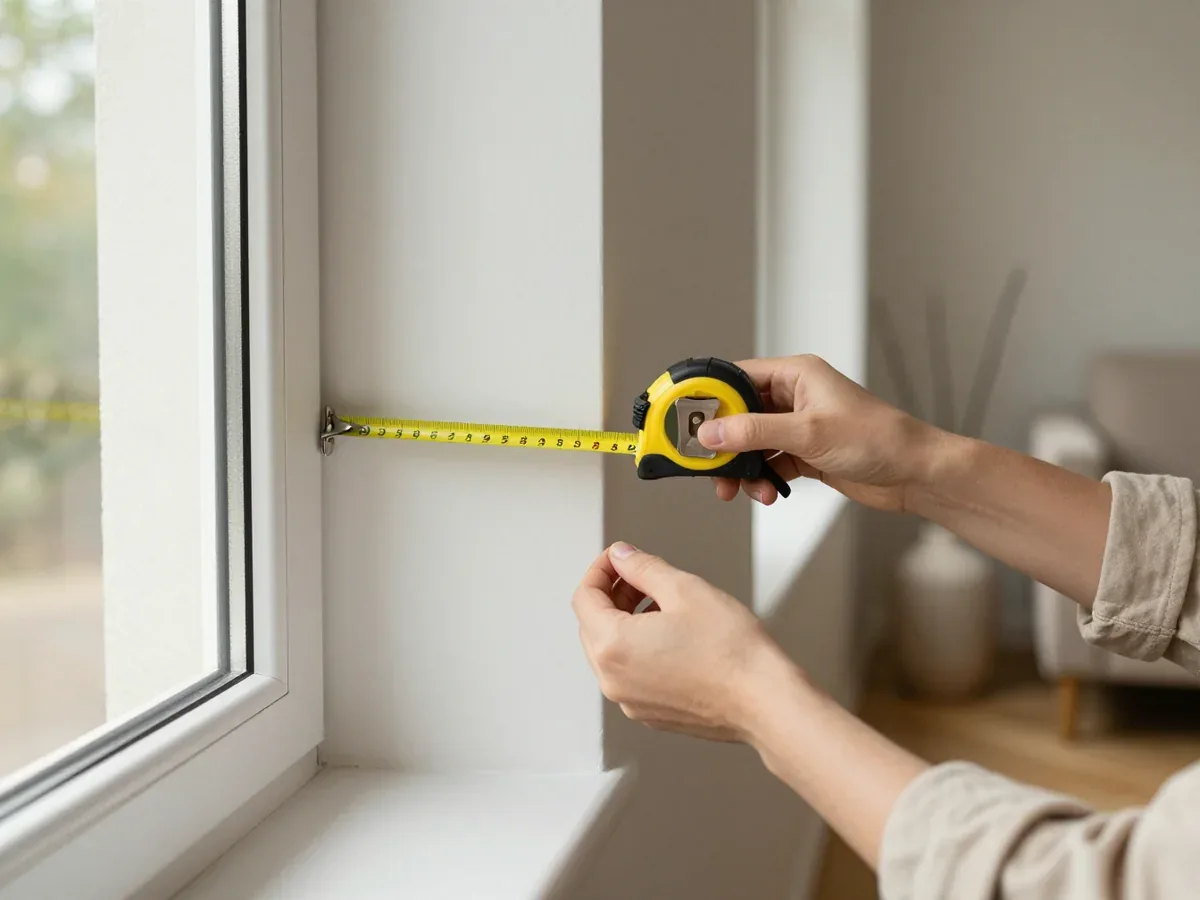
Our measurer takes the width, height and depth of the opening, checks how the frame sits in the wall and notes the sill position, so the panel depth follows the wall rather than a guess. He looks at the plaster line, the corner where the reveal meets the frame, and the gap between the frame and the wall on each side, since these three readings rarely match on an older block. The sill matters too: its overhang and level show how far the lower edge of the panel can come forward without fouling the slope. Depth is set by wall thickness and frame position, so a reveal that looks shallow on one opening can be deep on the next in the same flat — measure each one on its own.
Why measuring and consultation cost nothing
Measuring and consultation are free, the measurer comes at a time that suits you, and the price is fixed in the order only after the sizes are agreed. That order of steps keeps the decision in your hands: you see the depth and the material on the spot, ask about the corner profile and the sealant line, and only then confirm. Because the figure is locked after measuring, a change of panel or depth is settled on the spot rather than as a surprise on the invoice. We reply on WhatsApp within five minutes if a question comes up once the visit is booked, and the team is open seven days a week.
How window reveal finishing is fixed and fitted without removing the window
The choice of fastener decides whether a reveal stays tight for years or works loose after the first cold season. We cover the three methods and how the work runs with the glazing still in the wall.
Glue, frame or screws and how the fixing is chosen
| Method | Best suited to | Depends on |
|---|---|---|
| Adhesive | Light plastic and sandwich panels | Flat, sound surface |
| Timber or profile frame | Deep reveals, uneven walls | Wall material and depth |
| Screws and anchors | Heavy panels, wide openings | Window profile and storey |
Fitting reveals with the glazing left in place
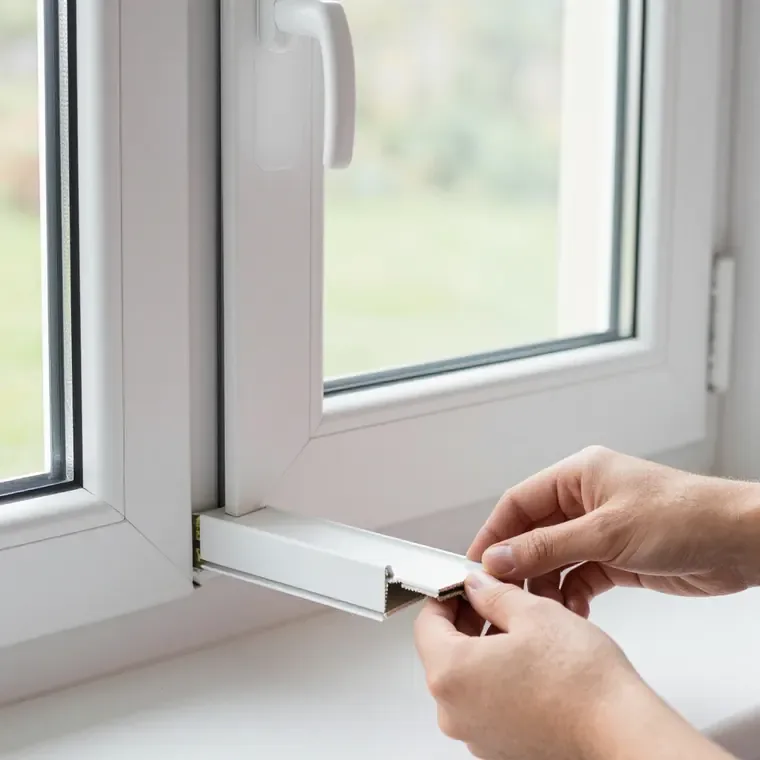
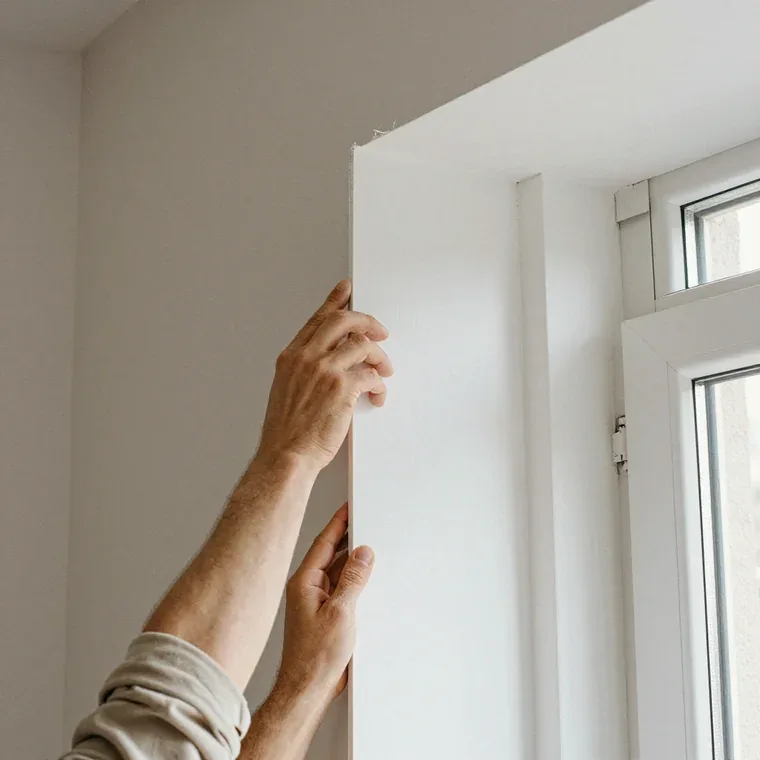
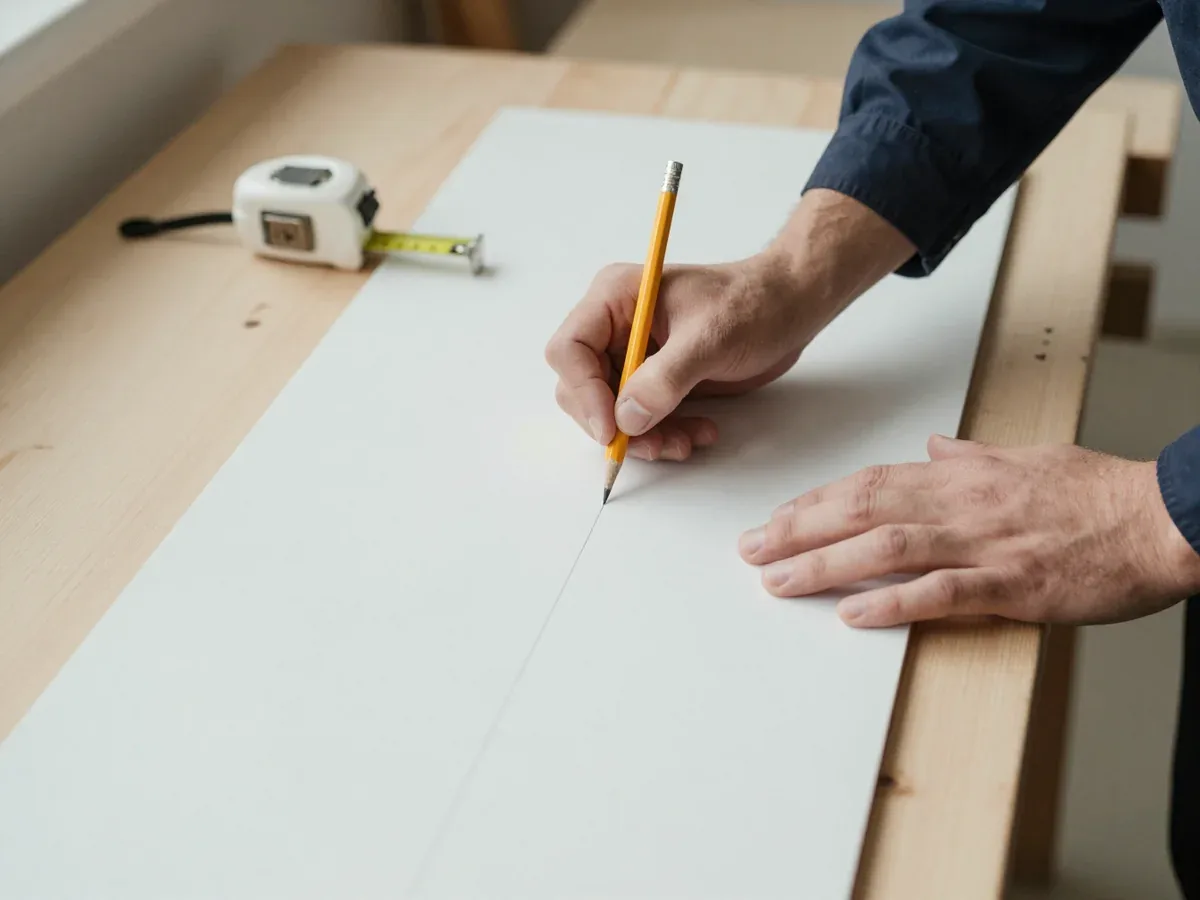
We fit reveals without taking the glazing out, so the frame, glass and sill stay where they are and you can keep living in the flat while the work runs. Our fitters work around the existing window, cut each panel to the measured depth and fix it to the wall rather than to the opening itself. Leaving the glazing in place also means the old seal around the frame is not disturbed, which is why the reveal can be finished in a single visit. The same team handles the reveal edges, the corner joints and the seal line, so there is no handover gap between trades. If the reveal hides a damaged seal or a cold bridge, we flag it during the visit and note it for the insulation stage.
Insulating reveals to stop condensation and mould
Condensation and dark patches in the corners around a window are among the most common reasons people ask about reveal finishing. Here is why a reveal needs insulation and how the result is checked before sign-off.
Why a reveal needs insulation even when the glazing seems fine
We insulate the reveal because the coldest spot around a window is the joint between the opening and the wall, and that is where condensation forms first even when the glass looks fine. The reveal is a thin bridge between the warm room and the cold outside, so moisture from cooking and drying laundry settles on it once the surface temperature drops. A closed mounting seam and a finished panel keep that surface closer to room temperature, which stops water from condensing on it. A gap of even a few millimetres shows up as a wet corner by midwinter. A unit that does not feel draughty can still have a cold reveal, so the test is the corner temperature, not the draught on your hand.
Removing old mouldy finish and checking the result
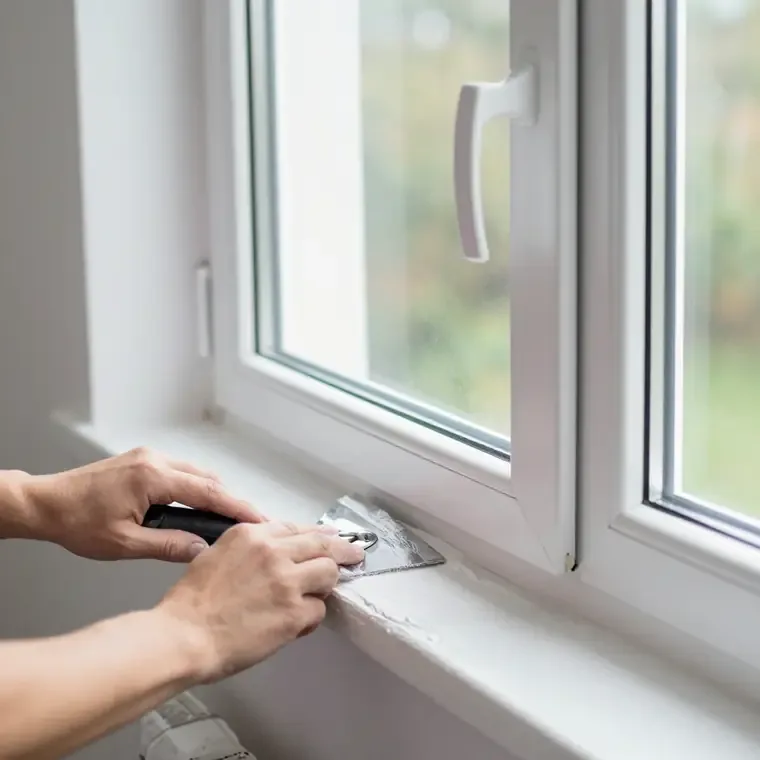
Where mould has taken hold we strip the old finish down to sound material before fitting new panels, then check the corners for cold spots and draughts before we call the job done. Old reveal finishing often hides a damp layer of plaster or sealant that keeps feeding the growth, so the strip-back removes the food source rather than the symptom. Once the surface is clean and dry, the seam is refilled and the new facing goes on with a tight fit along the whole frame edge. Covering mould without removing the damp layer behind it only hides the problem, so the strip-back is what actually stops it returning. After fitting, we run a hand along the joints and check for air moving in from under the reveal, because a small leak there brings the damp back within one heating season.
Warranty, payment and ordering reveal finishing in Taraz
This section explains what our warranty protects, how payment works once the job is done, and how to combine reveal finishing with a window repair in a single visit.
What the warranty covers and how long the finish lasts
We back our repair work with a 1-year warranty covering labour and replaced parts, and a well-fitted reveal with sound insulation holds its shape for years. The repair guarantee applies to how the panels sit against the frame, the fixing points and the sealed joints, while the same term protects any part we replace and the labour behind it. A reveal glued or screwed onto a clean, insulated surface does not shift with seasonal movement, so the joints stay closed through hot summers and cold winters. That guarantee is only as good as the fixing and insulation behind the facing, which is why both are settled at measuring rather than left to chance. For window reveal finishing in Taraz, the same terms apply to every job we take on.
Paying after installation and combining the work with window repair
- Payment on completion: you settle after installation by cash, card or Kaspi, and the price is fixed in the order once measuring is done.
- One visit, two jobs: we finish the reveals together with servicing or adjustment, so the frame is sorted before the panels go on.
- Seal replacement: we change the gasket on units of any brand, including KBE, Rehau, VEKA and Provedal, during the same visit.
- Our own fitters: the same team measures, fixes and installs, so nobody hands the job to a third party between stages.
- Fast answers: we reply on WhatsApp within 5 minutes and work seven days a week, so a slot can be booked for a day that suits you.
- Sequence matters: adjusting the frame first means the reveal is set against a unit that already closes properly.
The essentials of window reveal finishing in your home
Five points decide whether reveal finishing looks right and holds up over the years. Each one is settled before the panels go on.
- Room first, colour second: moisture and cold decide how a reveal performs, so match the panel to the room ahead of matching it to the paintwork.
- Depth follows the opening: size and depth come from the masonry and frame position, and a proper measuring visit is what prevents gaps and loose boards.
- Fixing suits the profile: the fastener has to match the design and floor level, or the finish loosens within a season.
- Insulate the joint: sealing the frame-to-wall line is what keeps condensation and mould from forming in the corners.
- Agree terms up front: confirm warranty and payment conditions at the start, so nothing surprises you once the panels are up.
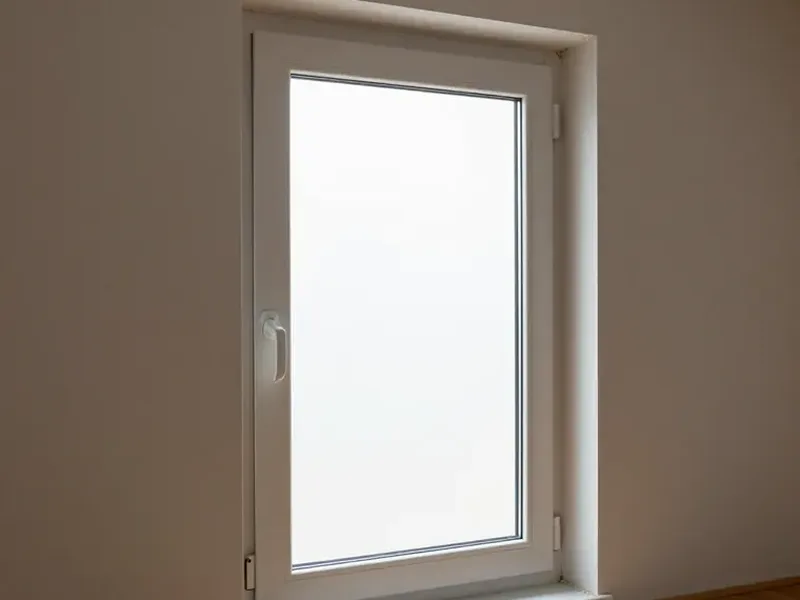 Window replacement
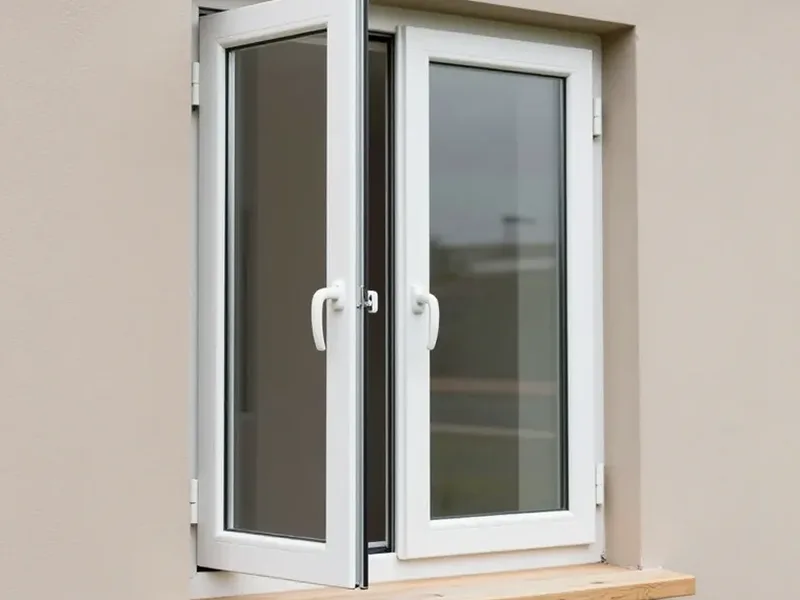 Balcony glazing
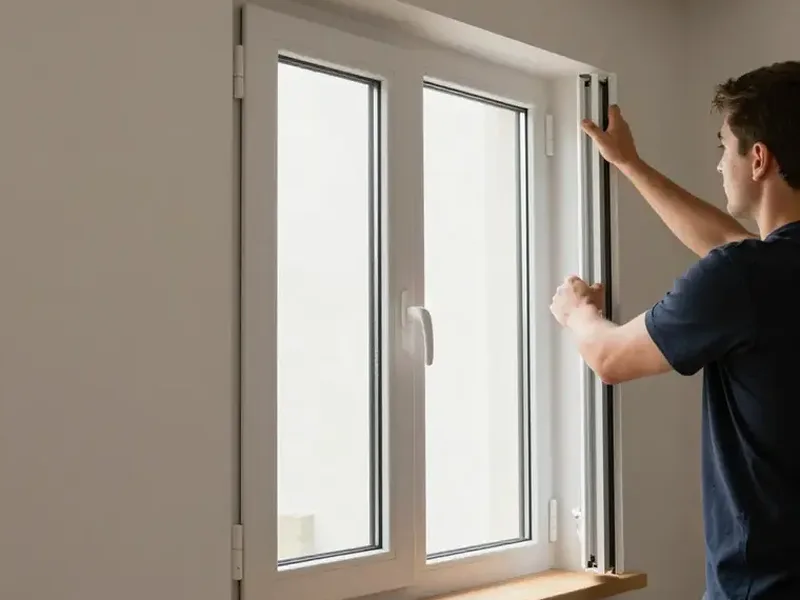 Plastic window repair
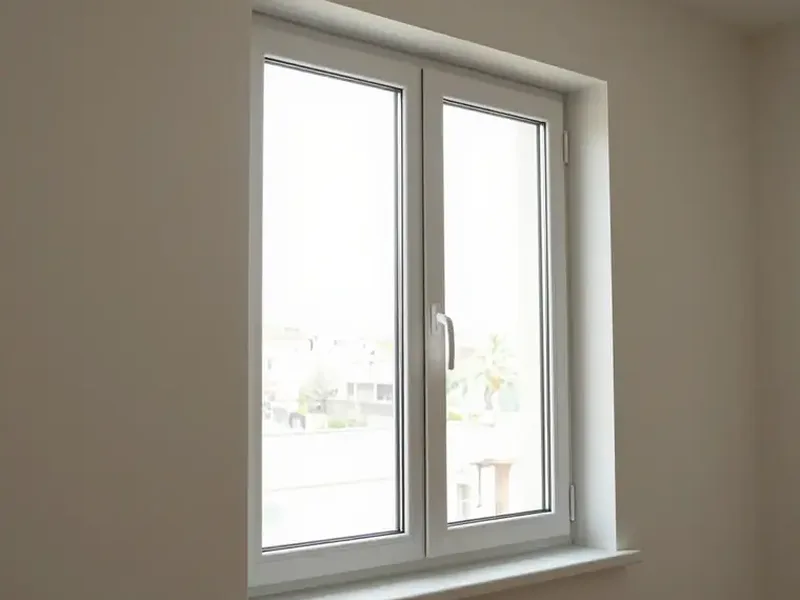 Window insulation
 Window adjustment