






Good to know
Window Reveal Finishing in Taldykorgan

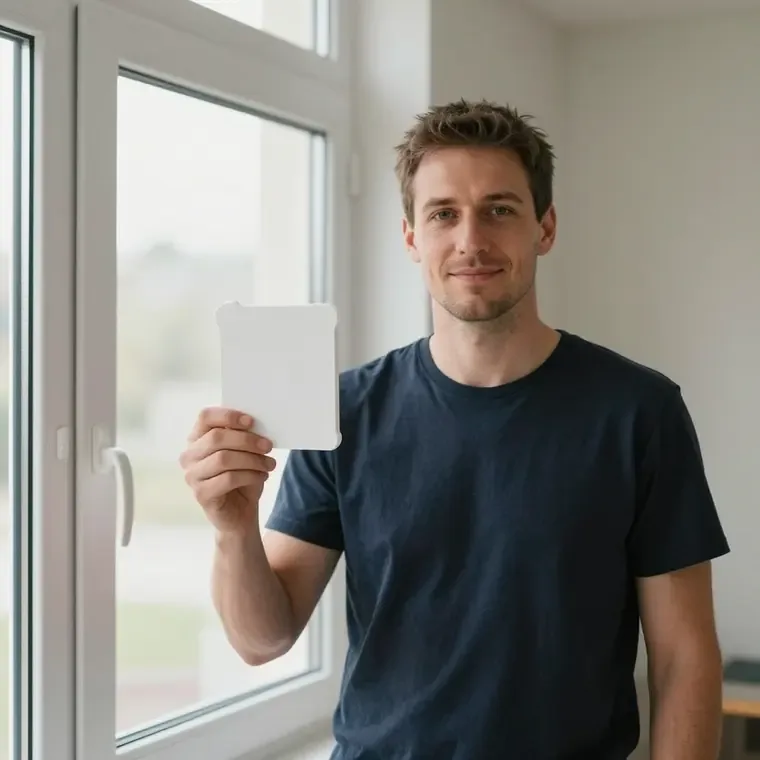
Senior mosquito screen specialist at moskitnyesetki.kz
We handle window reveal finishing in Taldykorgan as a direct fitter with our own installers, not through an aggregator. We start with a free measuring visit, help you choose the panel material and insulation for your window and room, and fix the price in the order after measuring. You pay only after installation.
Which window reveal finishing material suits your window and room
The reveal material decides how an opening survives winter, cooking steam and knocks. We compare plastic, sandwich panels and plasterboard for different windows and rooms.
Plastic, sandwich panel or plasterboard for your reveal
- Plastic (PVC) reveal: ready-made panel needing no plastering, filling or painting, finished the same day.
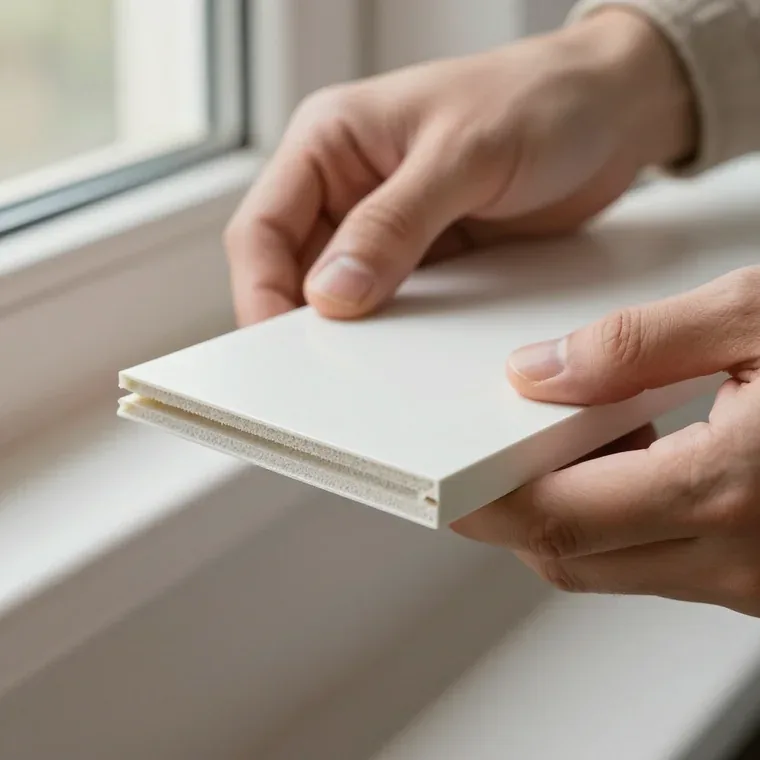
- Sandwich panel: rigid core with clean facing both sides, flatter and warmer than thin PVC.
- Plasterboard: cut, fixed, filled, sanded and painted, adding several days of drying.
- Plaster reveal: trowelled on site and painted after curing, slowest but follows curved openings smoothly.
- Where the budget question lands: plaster and plasterboard cost less in materials, yet extra labour and repainting push the total closer to a panel.
Matching the material to the room and the opening type
A child's room calls for a panel with no paint smell and no sharp edges, and the same panels fit wooden and aluminium frames as well as plastic ones. Kitchens and bathrooms suit wipeable PVC, because steam and grease settle on the surface and a damp cloth handles both. Bedrooms and living rooms take sandwich panels, whose rigid core keeps the reveal flat and quiet under a curtain rail. Wooden frames accept the same panels once the fitter packs the gap behind them; aluminium frames on loggias need the panel trimmed to the slimmer profile depth. For window reveal finishing in Taldykorgan, match the panel to the room's moisture and the frame's depth.
Comparing reveal options side by side
| Reveal option | Finish needed | Drying time | Best for |
|---|---|---|---|
| Plastic (PVC) panel | None, ready to use | None | Kitchens, bathrooms, busy rooms |
| Sandwich panel | None, rigid core | None | Living rooms, bedrooms, offices |
| Plasterboard | Filling and painting | Long, until fully dry | Curved or non-standard openings |
| Plaster | Painting after cure | Longest of all | Period homes, custom shapes |
Window reveal finishing insulation and sealing that stop condensation and mould
Damp, cold or frosty reveals are our most common complaint, caused almost always by insulation and the joint rather than the glazing itself.
Why reveals get wet and how insulation fixes it
- The dew point: keep surfaces above it; below, moisture collects rather than wiping.
- Thermal bridges: thin or missing insulation lets outside chill travel through the slope.
- Material choice: mineral wool, penoplex or foil-faced foam fill the cavity and cut heat loss.
- Vapour control: a closed inner vapour layer stops indoor moisture settling inside the filling.
- The corner test: a cold bridge shows as one damp corner patch first, before the whole slope.
Sealing the joint so draughts and mould stay out
A sealed frame-to-reveal joint blocks the draught path, and that same seal is what keeps indoor air from reaching a cold surface and condensing. The mounting seam around the frame works as three layers: an inner vapour-tight tape, a middle foam filler and an outer weather-proof membrane that sheds driving rain. When the seam is broken, air moves freely through the gap, the slope cools unevenly and a draught you feel at the handle is really coming from the perimeter. Mould often returns because the gap was sealed on the room side only, leaving the outer layer open to water that soaks the filling from outside.
What a full reveal job includes beyond the panels
- Insulation: the cavity behind the panel is filled so the surface stays above the dew point.
- Joint sealing: the frame-to-reveal gap is closed on both the inner and outer side.
- Levelling: the opening is brought to an even plane before boards go up.
- Panels: the visible finish is fitted last, once the hidden layers are done.
- Clean-up: dust and offcuts are cleared so the space is usable straight away.
How the free measuring visit and window reveal finishing fitting run
The job runs from a measuring visit to fitting and a final check, and in most cases the window and sill stay exactly where they are.
The free measuring visit and what the measurer checks
- Free measuring and consultation: our measurer visits at your convenience, takes sizes and helps choose panel, insulation and fixings.
- Sill and opening: the measurer notes sill position and checks whether the opening is square, as a sloped reveal changes fixing method.
- Fixing choice: the measurer picks the fixing for your profile and floor, from brackets to magnets.
- Panel and colour: you agree panel type and frame colour, painted to match existing frames.
- Fixed scope: the price is fixed after measuring, so nothing shifts once work starts.
Fitting the reveals without removing the glass unit
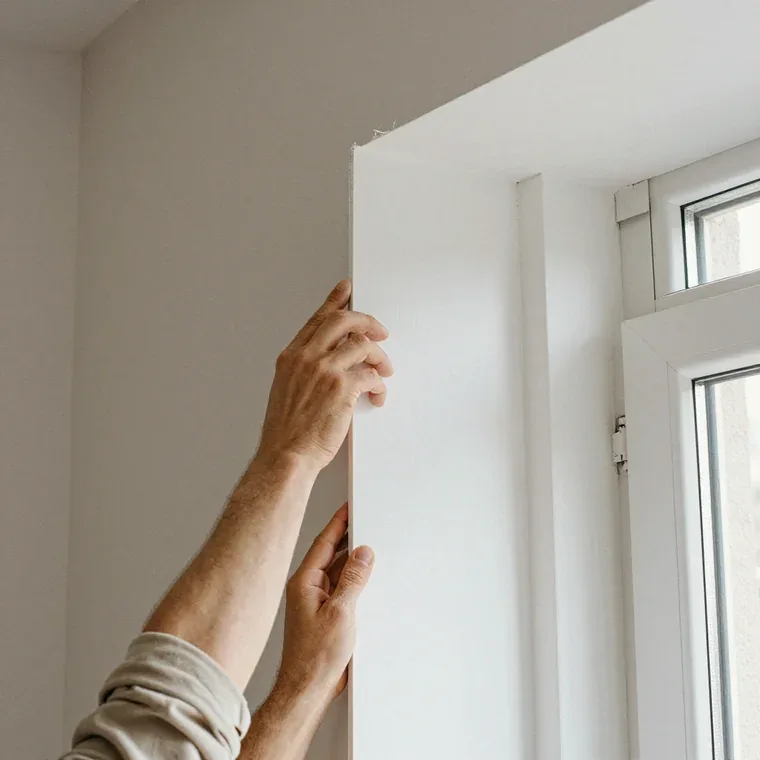
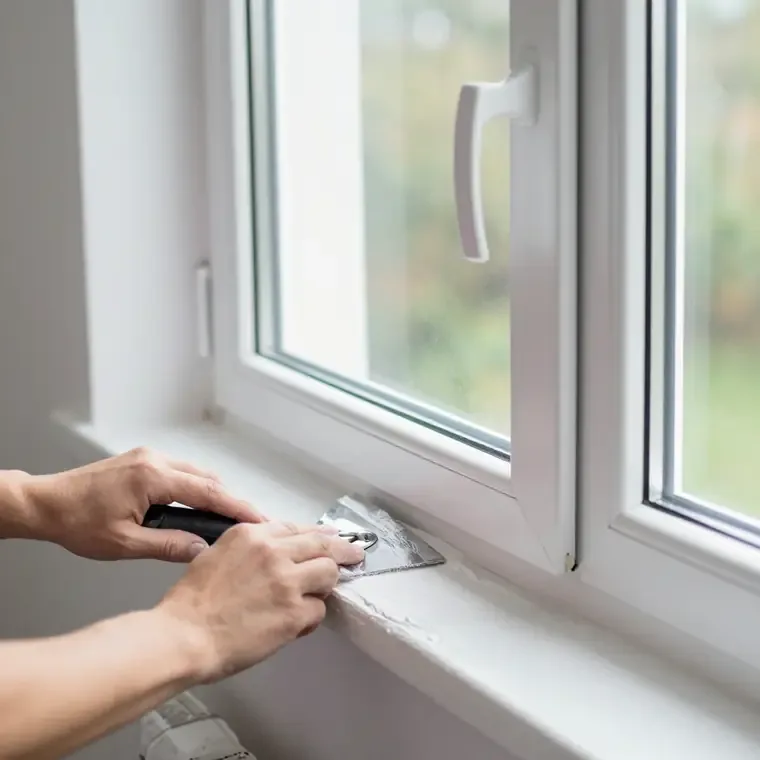
In most cases the reveal is finished with the frame and sill left in place, and the panel is fixed on a frame, on adhesive or with screws depending on the opening. The fitter works around the existing frame, so there is no need to take out the glass unit or disturb the sill. A flat, square opening takes a frame and adhesive; a bowed or uneven one usually needs screws into a batten to pull the panel true. Doing the job by hand without checking the plane first tends to show a shadow line along the panel edge that no amount of sealant hides.
How long the work takes and how it is checked
- Timing agreed up front: timing is agreed at the measuring visit; we work seven days a week.
- One opening at a time: the fitter finishes and checks each reveal before moving on.
- Level check: run a straight edge along the reveal to confirm it is flat.
- Joint and corner check: press the seams and look for gaps at the frame.
- Surface and seal check: confirm the panel is clean and scratch-free, and feel for draughts.
- Flag it early: point out a wavy edge or soft corner while the fitter is on site.
Reveal width, size and the geometry of the opening
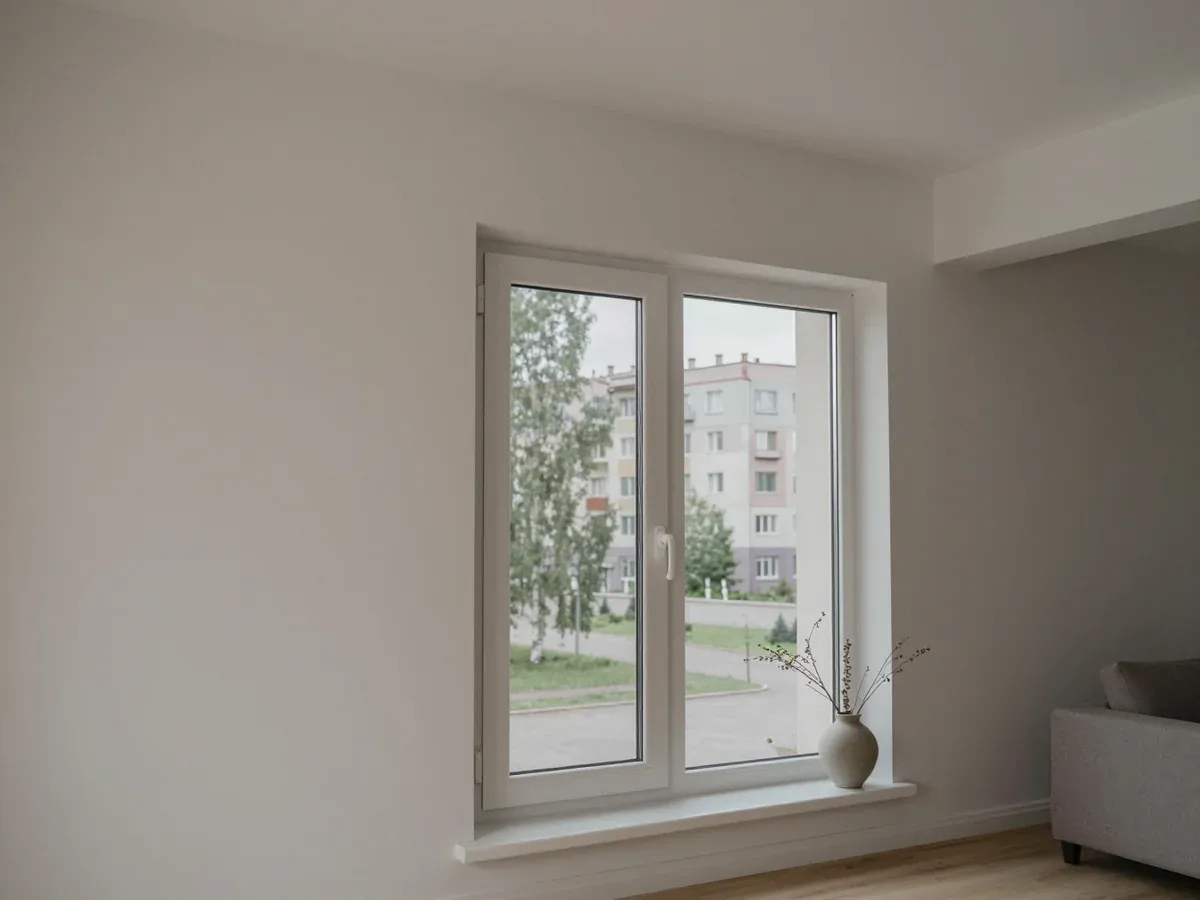
Reveal width and opening trueness determine how a panel sits and the fitting allowance needed, both settled at measuring before any cutting.
How wide a reveal should be and why it matters
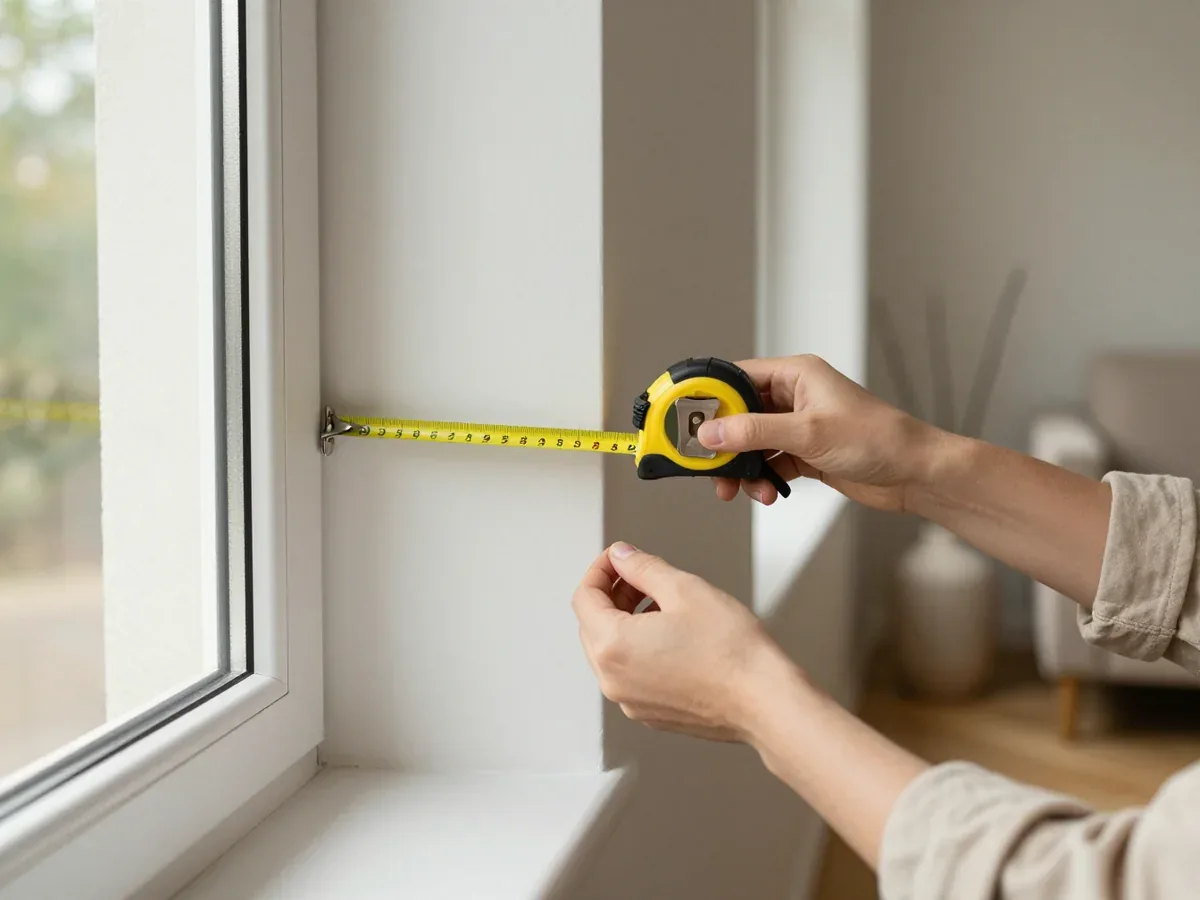
- Width follows depth: the reveal runs from frame to wall face, so its width is that distance plus a small edge return.
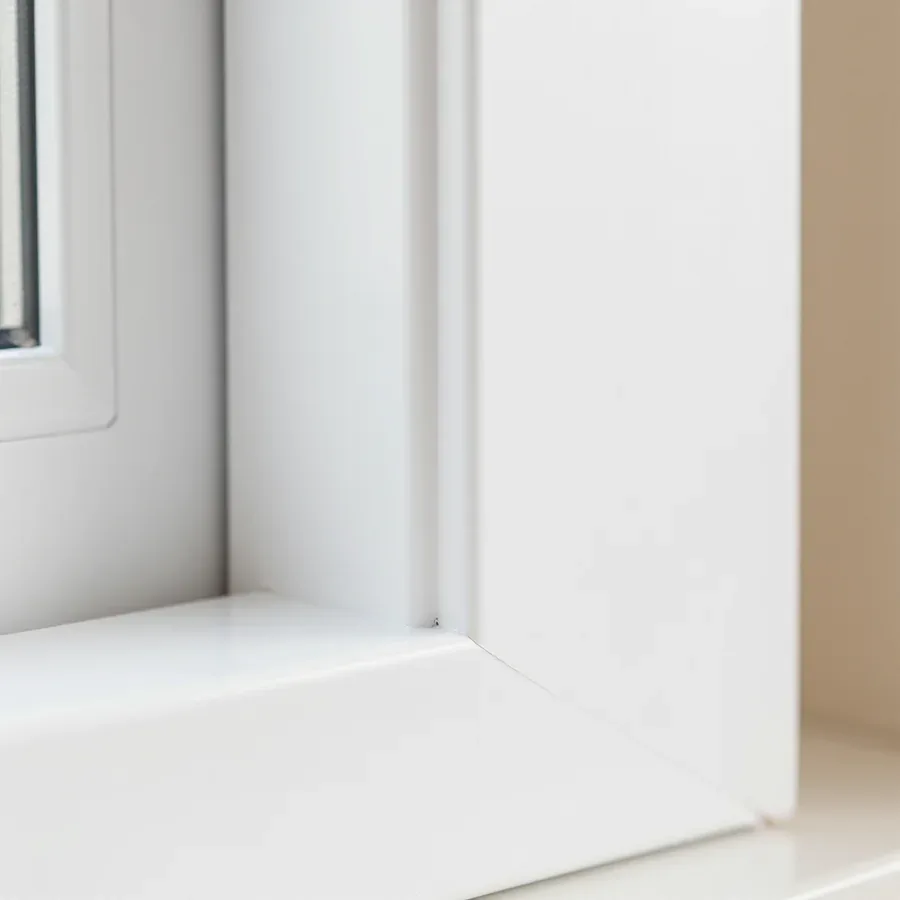
- Too narrow leaves a step: a short panel stops before the wall plane, and the exposed ledge collects dust and lets draughts past the seal.
- Too wide stands proud: an overhanging panel is awkward to trim flush.
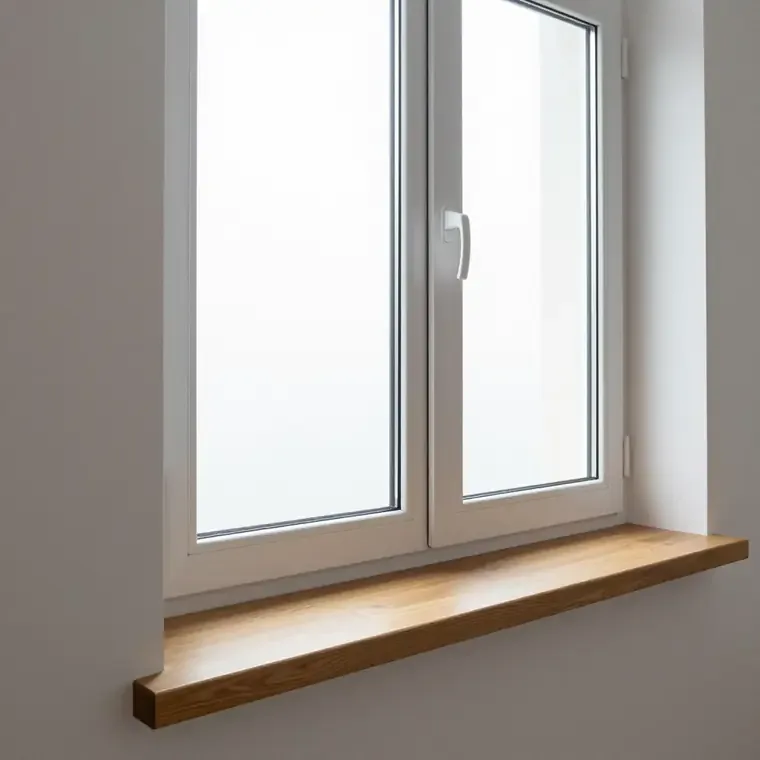
- The sill stays put: finishing is done around the existing sill.
- Allow a little extra: slightly more depth than needed leaves room to square the edge cleanly.
- Check at several points: the measurer notes the distance top and bottom, because walls rarely share one thickness.
Handling openings that are not square
When the opening is out of square, the fitter levels it with packing and trim rather than forcing a board into a twisted frame. The measurer records the diagonal and the widest gap on each side, so the piece arrives cut to the real shape of the aperture instead of the nominal one. Twisted frames are common in older housing stock, and the correction is planned at the measuring stage — packing behind the board, a trimmed edge, and a seal that closes the remaining gap. Cutting on site to a guessed rectangle usually leaves a visible taper at one corner. An uneven aperture is normal, and the fix costs nothing extra when built into the order.
Warranty, aftercare and ordering from a direct fitter
Ordering from a direct fitter means our fitters do the work, you pay after installation, and warranty and care terms are agreed in writing beforehand.
What the warranty covers and how to care for the reveals
- Warranty terms: warranty for your reveal finishing is confirmed in the order before fitters begin.
- Weekly cleaning: wipe panels with a soft cloth and mild soap solution — no scouring pads, solvents or acetone.
- Why it matters: aggressive products dull the surface and speed yellowing; mild soap lifts dust safely.
- Joints and seals: check the sealant line twice a year and report cracks while warranty is active.
- Winter routine: keep the reveal dry and ventilate daily; trapped moisture dulls panels fastest.
- What to report: bubbling, separation or a loose corner — send a photo on WhatsApp; we reply within 5 minutes.
Ordering in Taldykorgan with payment after installation
You can book reveal finishing with a direct fitter, and we take payment after installation by cash, card or Kaspi. The measuring visit is free: the measurer comes at a convenient time, takes the sizes and helps choose the panels, sealant and fixings for your opening. Because the price is fixed in the order after measuring, the figure you agree on the day is the figure you pay once the work is done. We work seven days a week, so a visit can be booked for a weekend, and quotes for residents of the city are confirmed on WhatsApp, usually within five minutes of your message.
What to consider before ordering window reveal finishing
Five points decide whether a reveal job holds up: the material, the insulation, the measuring, the frame staying put, and the finish you inspect at the end.
- Material first: plastic and sandwich boards are ready once fitted; plasterboard and plaster need filling, sanding and painting.
- Insulate and seal: a warm, sealed reveal stops condensation and mould on the cold joint.
- Measure first: a free measuring visit catches out-of-square openings and uneven depths while cladding is uncut.
- Keep the frame in place: most reveals are finished with the unit and sill mounted, so no re-glazing follows.
- Check the work: level surfaces, tight joints and a clean seal line show a lasting reveal.
 Window replacement
 Balcony glazing
 Window insulation
 Seal replacement
 Window repair