





Good to know
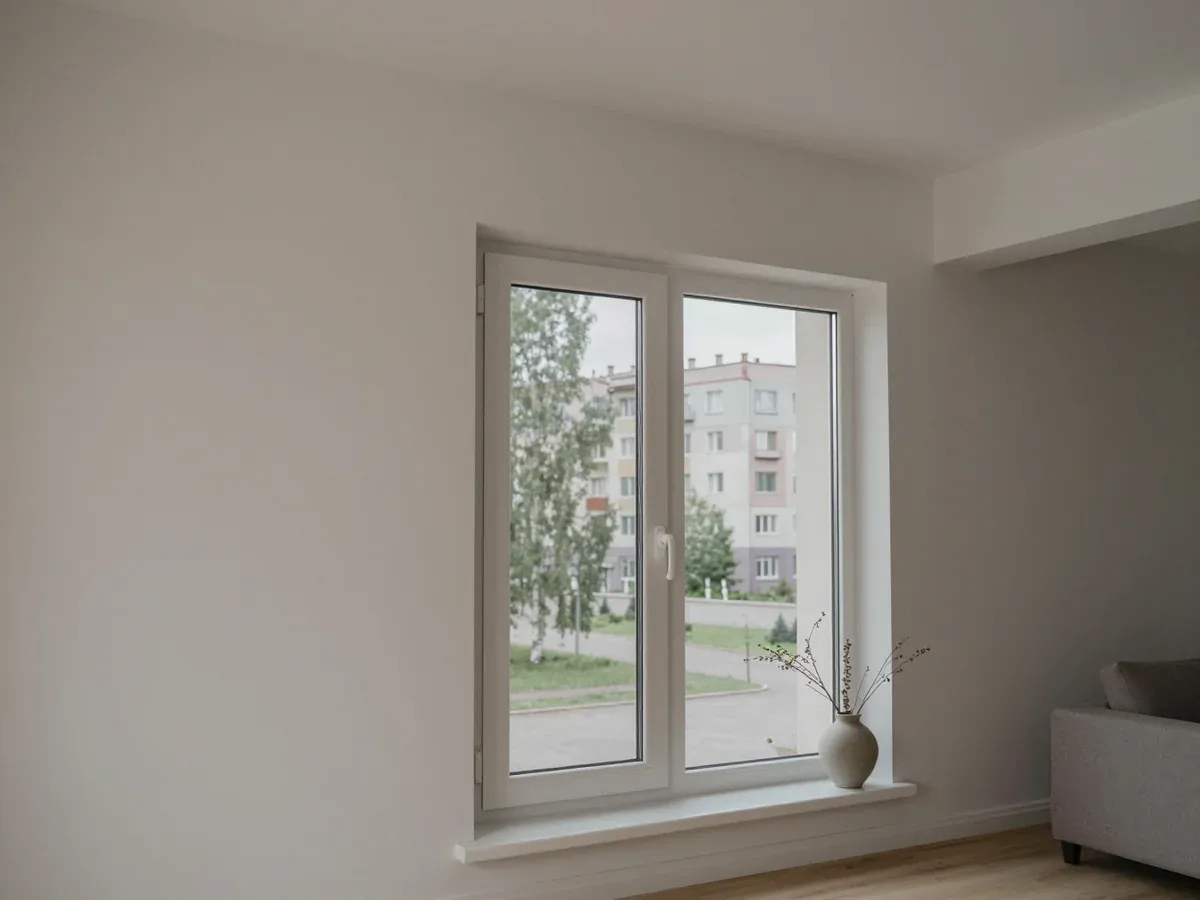
Window Reveal Finishing in Kostanay

Senior mosquito screen specialist at moskitnyesetki.kz
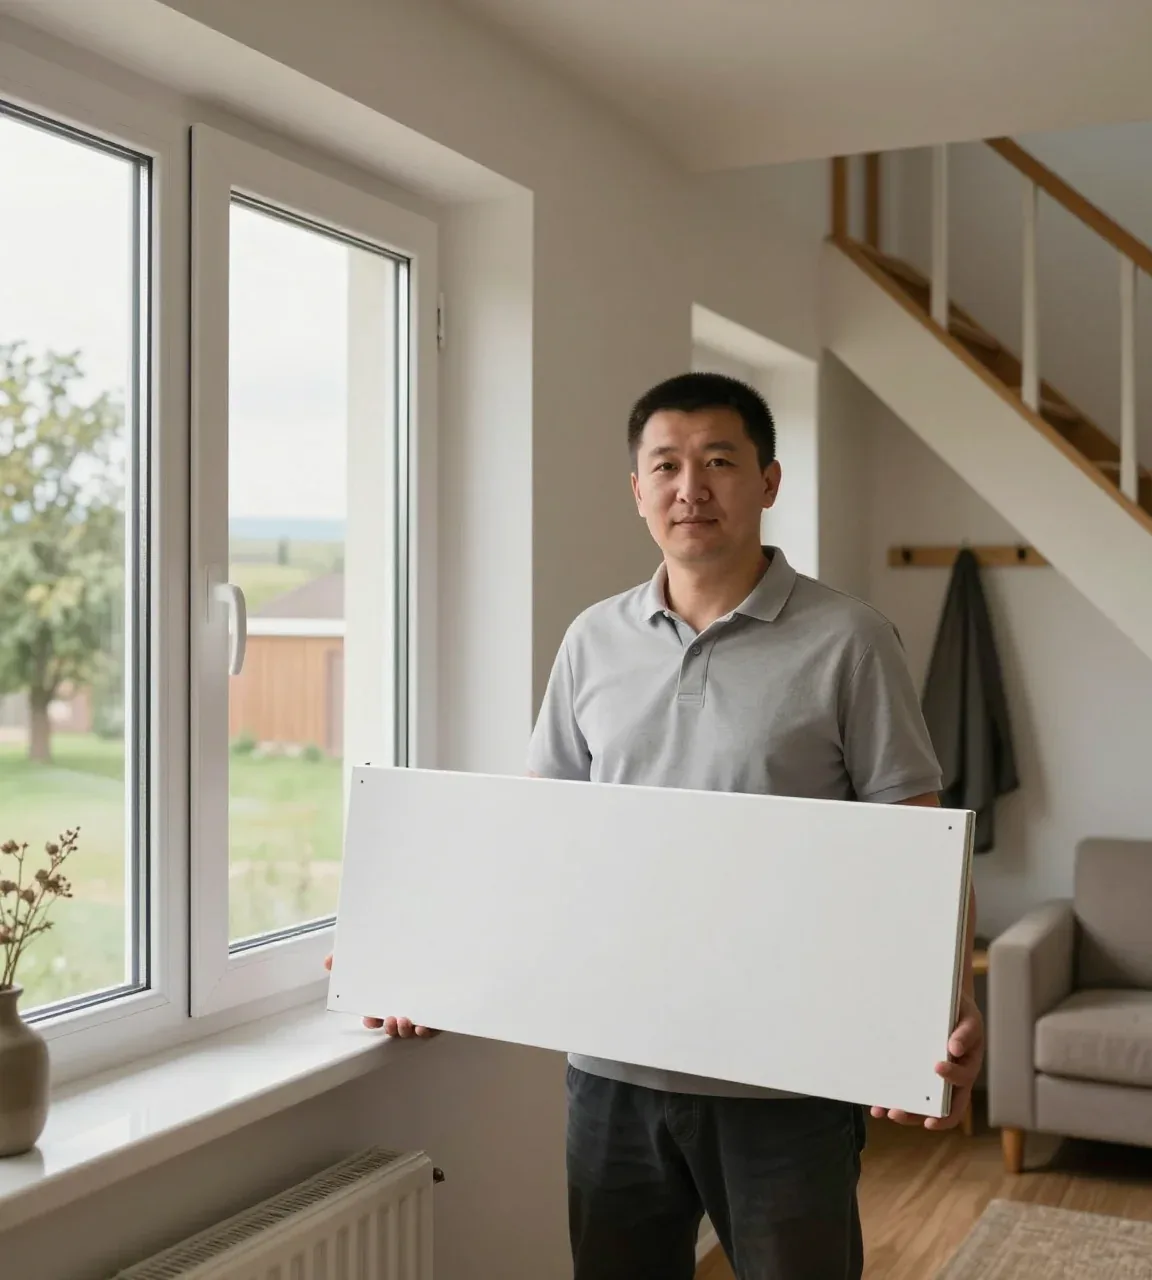
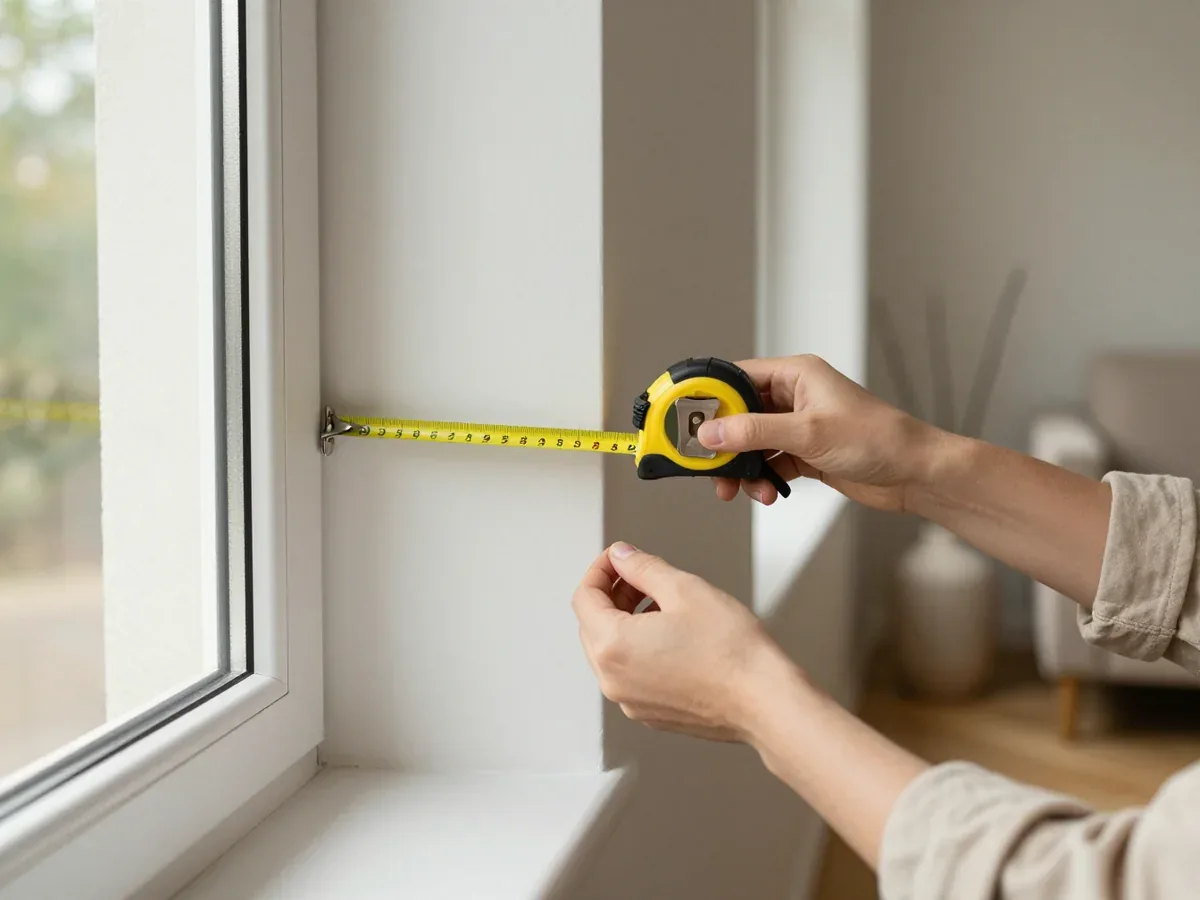
We handle window reveal finishing in Kostanay as a direct fitter, not a middleman. A free measurer visits at a time that suits you, checks the opening and helps pick the material and fixings for your window profile and floor. You pay only after installation, by cash, card or Kaspi.
Which window reveal finishing material fits your window and room
For window reveal finishing Kostanay owners weigh three materials competing for the opening: a PVC panel, a sandwich panel and plaster. Each has its own niche by room, wall and moisture level.
PVC, sandwich panel or plaster and where each one wins
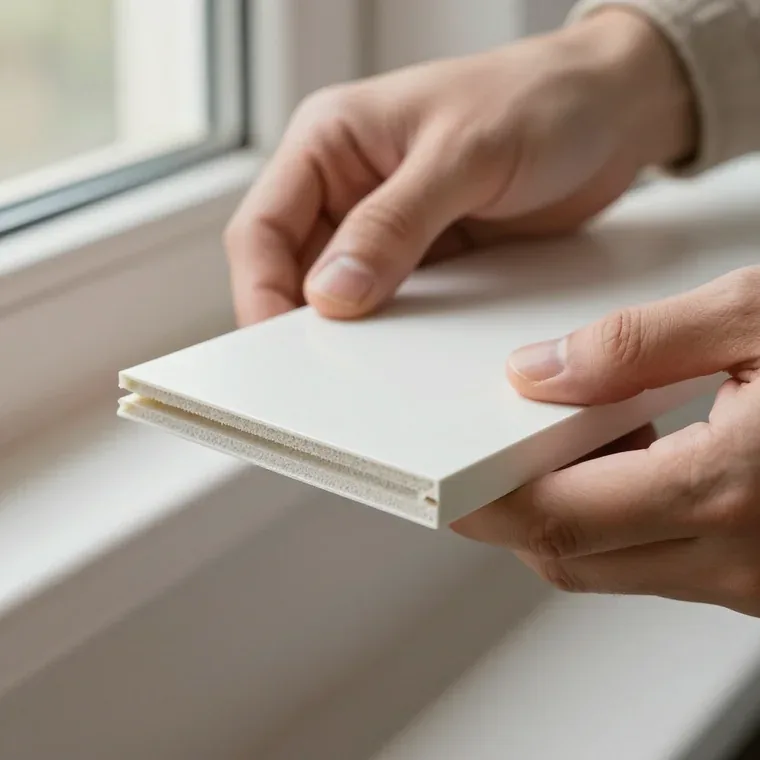
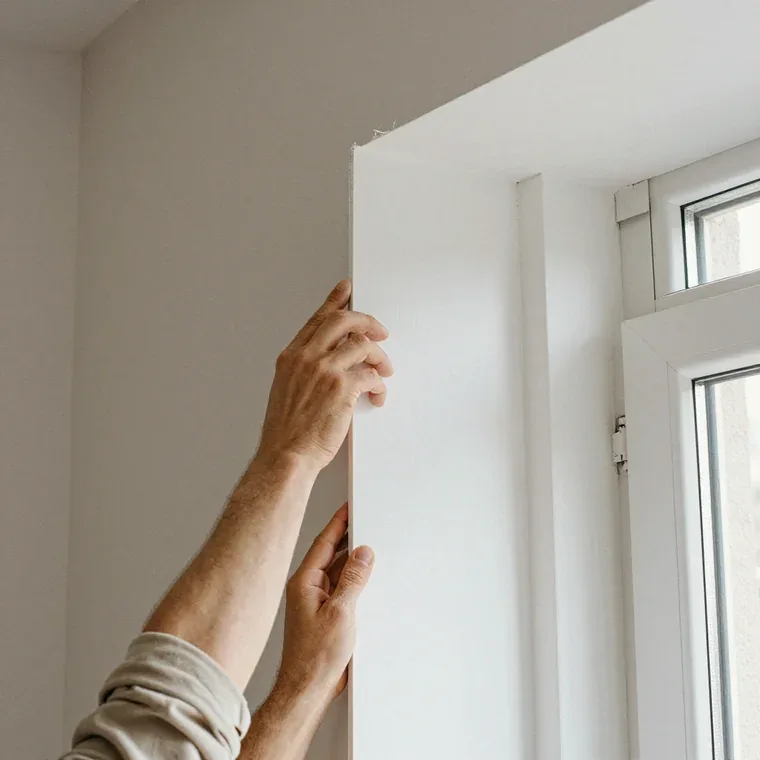
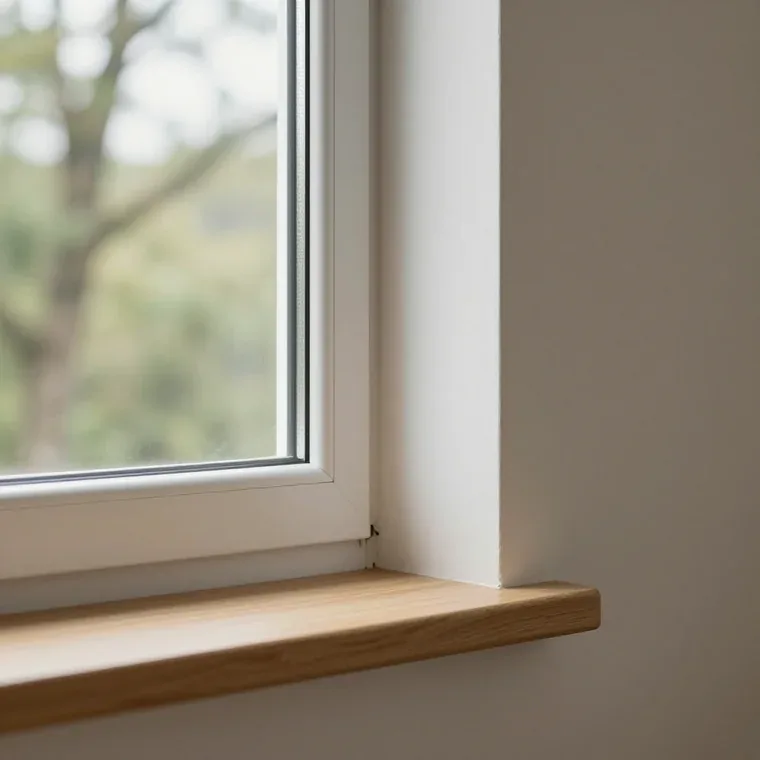
PVC panels suit dry living rooms and go up fast, sandwich panels add a built-in insulation layer for colder walls, and plaster gives a seamless painted finish where the wall is sound. A sandwich panel is two rigid skins with insulation between them, which is why it holds warmth on a thin outer wall facing the street. A slim PVC reveal keeps the profile tight around the opening and stays easy to wipe in kitchens and hallways. Plaster wins in bedrooms where the surface is already warm and flat and you want one continuous painted finish with no visible joints. What decides it is usually what sits behind the panel — a cold, thin wall pushes you toward an insulated board, while a warm dry one lets a slim PVC reveal work.
Matching the reveal to plastic, wooden and aluminium frames
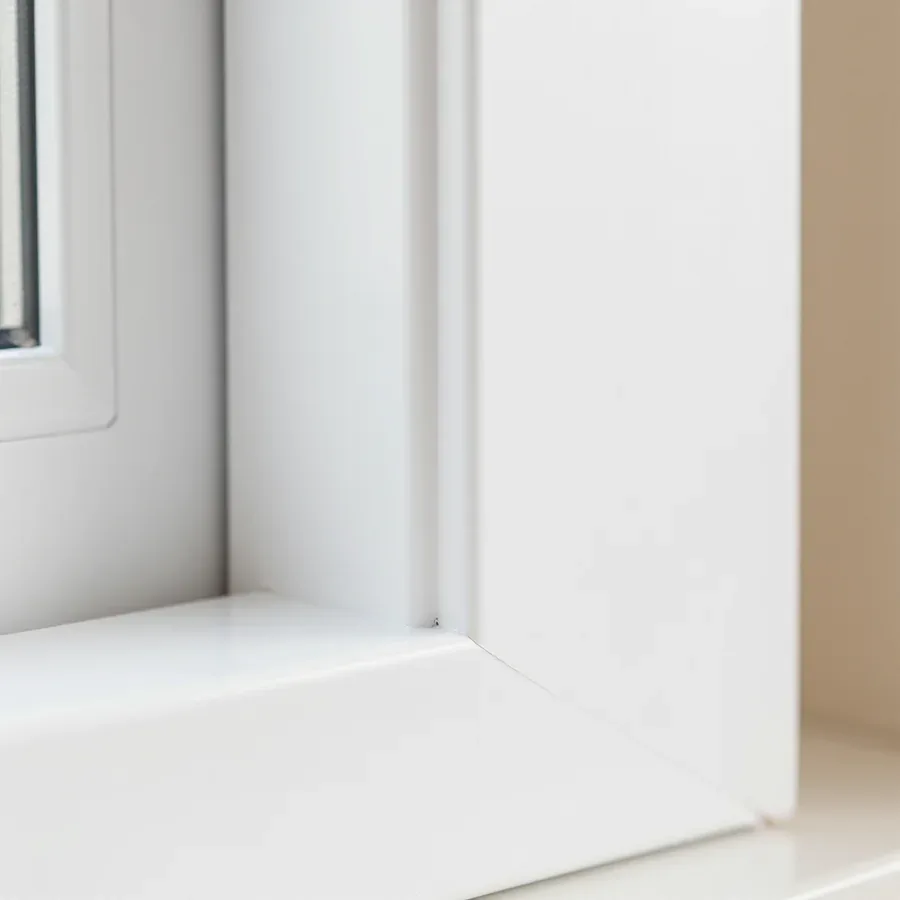
- Plastic frames: the reveal clips to the existing profile, so the panel sits flush and the trim hides the joint.
- Wooden frames: the frame moves with the seasons, so the trim is fixed to the wall, not clamped.
- Aluminium frames: thin profiles need shorter fasteners and a tighter trim, or the reveal pulls away at corners.
- Lodges and verandas: the same panels work, but fasteners suit colder, damper conditions of an unheated room.
What turnkey window reveal finishing work includes and how the free measuring visit runs
Turnkey service runs from a free site check to installation, with payment only after the job is done. Below is what that check covers and how the fitting itself goes.
From the free measuring visit to the finished reveal
- Measuring and consultation: free, and the measurer arrives at a time that suits you.
- Choosing the material and fixing: the measurer matches board and fastener to your profile and floor.
- Locking the price: the figure agreed after measuring is fixed in the order, so nothing shifts.
- Payment after installation: you settle by cash, card or Kaspi only once the job is finished and checked.
How panels are fixed and how long one opening takes
The fitter chooses the fixing to suit the profile and floor, then sets the board so the joint to the frame and wall closes cleanly. On a PVC opening that usually means Z-brackets or pins into the profile, while magnets suit openings where drilling is unwanted; the exact method is confirmed at the measuring stage. One opening normally takes a single appointment, and the crew brings sections cut to size beforehand, so the task is mostly assembly and sealing rather than cutting on site. A reveal that is only glued and never anchored is the usual cause of a strip lifting at the corner a season later, so the fixing method matters more than the facing.
Uneven walls and draughts from under the sill
Uneven walls and draughts from under the sill A crooked opening is levelled before facing, and a draught from under the sill usually means the seam was never sealed, not a faulty frame. The fitter packs out the gap, trims the section to the actual wall line and seals the reveal-to-frame junction, so the finished edge sits flush instead of following every bump. In older blocks around Kostanay the wall can be out by a couple of centimetres over one opening, and a piece cut to nominal size would leave an open slit along the top. Sealing that junction closes the path for moisture and draught, cheaper during reveal work than reopening later.
Stopping condensation and cold at the window reveal finishing stage
Damp patches and mould on a reveal cause most of our calls about reveals. Here is where the moisture comes from and what insulation of the opening changes.
Why condensation and mould appear on a reveal
Condensation forms where the reveal surface is colder than the room air, so a thin uninsulated reveal in a humid room collects water first. The panel has almost no thermal resistance, and outdoor chill reaches it through the gap between frame and wall. Water settles on the coldest point, usually the lower corner near the sill. Mould follows that spot, not the whole wall — treating the patch without warming the reveal only moves the problem a few centimetres. Wiping and repainting hides the stain for a season only. The lasting fix is to warm the surface and close the moisture path, so the coldest point stops falling below the dew point.
Insulating the reveal so it stops freezing
- Mineral wool behind the panel: a 50 mm layer fills the cavity and keeps the inner surface above the dew point.
- Sealing the joint first: foam and sealant close the gap; an insulated but leaky reveal still freezes at the corner.
- Warm edge on outward-facing reveals: insulation runs right up to the frame, leaving no cold bridge.
- Vapour barrier on the room side: a membrane stops indoor moisture reaching the cold layer and condensing.
- Checking the sill line: we probe under the sill for draughts before closing; most frozen corners start there.
When to repair old reveals and when to replace them
Not every tired reveal needs to come off the wall. Below is how to separate a cosmetic touch-up from a real rebuild, and how seasonal timing shapes the work.
Repair or replace, and how to tell the difference
A cracked or stained surface can often be refinished, but a reveal that is loose, cold to the touch or mouldy behind the cladding is better replaced than repainted. Run a hand along the joint where the cover meets the wall: a firm edge and an even face point to filler and paint. Mould that returns after cleaning means damp sits trapped behind the finish, and no sealer applied from the outside will stop it. A reveal that is visibly out of square demands the opening levelled before any board goes on, otherwise the new cover inherits the same gap along the sill. If the cladding sounds hollow when tapped, the fixing behind it failed and paint will not hold.
Fitting reveals in cold weather and when to paper the walls
Panel work goes up in cold weather because it needs no drying time, while plaster requires the room warm and dry before trimming. A board is cut and fixed in a single visit, so an unheated flat in Kostanay does not hold the job back the way wet trades do. Plaster dries slowly, and forcing it with heat or a draught cracks the finish before it sets. Papering over a gypsum reveal too early traps moisture in the wall, so the safe rule is to wait until the face reads dry to the touch across the whole width, not just at the edges. In practice that means planning wet work ahead of the wallpaper.
Warranty, a direct fitter and combining the work with window protection
Trust matters as much as the panel: who arrives, what the warranty covers, and whether reveal and protection can be finished in one visit rather than two.
What a direct fitter gives you that a listings board does not
We work as a direct fitter with our own fitters, not as an aggregator or a listings board, so the same team measures, fits and answers for the result. A measurer records the opening, the profile and the floor, and the crew works from those notes rather than a fresh guess. That continuity matters on reveals, where a joint that looks tight on the day can open once the room dries out and the frame settles. With a one-off board master there is nobody to call back when a joint opens a month later, so the fitter's accountability matters as much as the panel. Ask who signs off the work before drilling.
Warranty cover and how the order is agreed
| Service | Warranty | What it covers |
|---|---|---|
| Window installation | 5 years | Fitting and installation labour |
| Glass unit replacement | 3 years | The replacement unit |
| Window repair | 1 year | Labour and replaced parts |
| Mosquito screens | 1 year | Screen and its fittings |
Adding a mosquito screen or window guard in the same visit
- Framed screen: made-to-size, 10–15 minutes to build, in Economy 32×10 mm or Prestige 42×17 mm door profiles.
- Mesh choice: Standard fiberglass, UltraVue, Pet Screen, Anti-Dust or Poll-Tex, picked at the measuring visit.
- Fixings: the measurer selects Z-brackets, plungers or magnets to suit the profile and floor.
- Frame colour: painted to match your openings, so reveal and protection read as one line.
- Timing: booking both together plans fixings before the reveal, with no fresh holes in a finished surface.
Key points about window reveal finishing and the seam
A reveal is only as good as the decisions made before the first sheet goes up, which determine whether the finish lasts for years or fails within one heating season.
- Match material to wall: PVC suits humid rooms, sandwich board handles cold surfaces, plaster fits painted or tiled walls.
- Book free measuring visit: the measurer takes exact sizes, advises on mesh and fixings, and the agreed price is fixed in the order.
- Seal and insulate the joint: without insulation and a tight sill seam, condensation and mould return regardless of surface neatness.
- Time work to season: cladding goes up in cold weather, while plaster needs above-zero temperatures and dry walls.
- Get warranty in writing: ask what it covers, for how long, and who returns if a seam opens or a sheet loosens.
 Window replacement
 Window insulation
 Balcony glazing
 Seal replacement
 Window adjustment